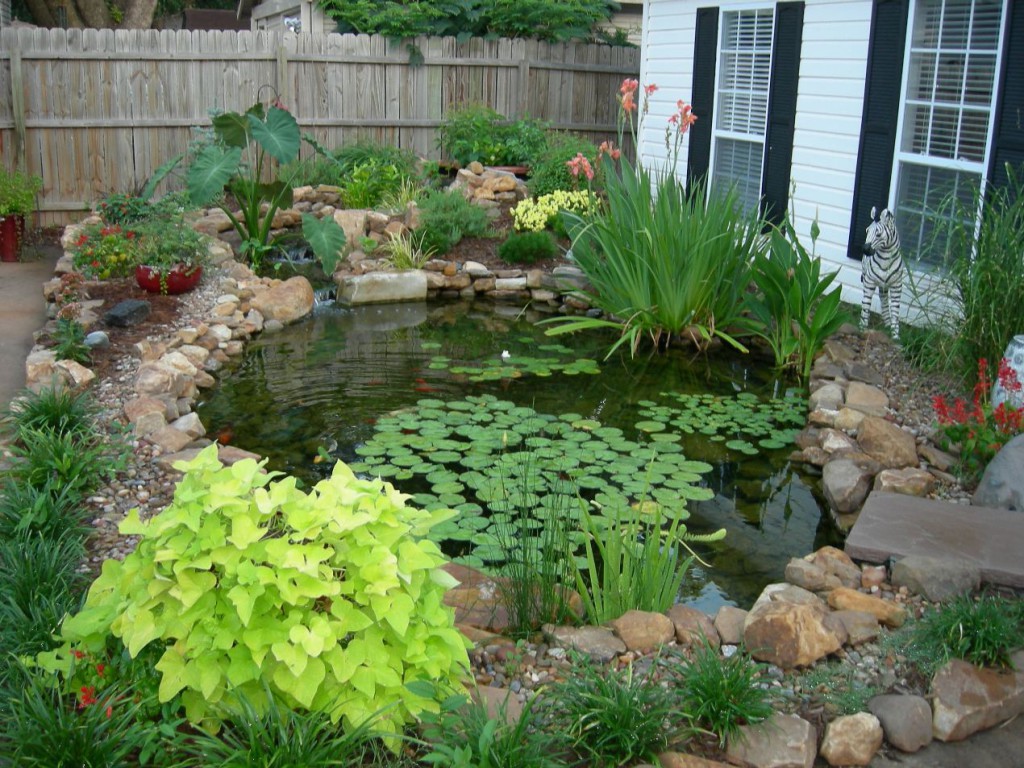
A preformed garden pond is one of the quickest ways to add permanent water to a small landscape. The rigid shell already provides the waterproof basin, shelves and outline, so there is no flexible liner to measure or fold. Installation is still more precise than simply dropping a plastic tub into a hole: the shell must be level, evenly supported and backfilled without distortion.
This guide explains how to choose a preformed pond, select a practical location and install the basin so the rim stays level and the sides remain supported. Product designs vary, so use these steps together with the manufacturer’s instructions for your specific shell.
Is a Preformed Pond Right for Your Garden?
Rigid shells work best for compact or medium-size ornamental ponds. They are convenient when you want a predictable shape, built-in planting ledges and a project that can often be completed in a weekend. They also make it easy to see the final volume and depth before excavation begins.
The trade-off is limited design freedom. A shell cannot adapt to an unexpected root, rock or change in grade, and transporting a large one can be awkward. Flexible liner is usually better for a broad naturalistic pond, an irregular site or a design with custom shelves. Concrete may suit formal or structural work but requires specialist waterproofing and reinforcement.
Open water presents a drowning risk, including shallow decorative ponds. Consider household access, local barrier requirements and safe routes around the feature before buying the basin.
Choose the Shell by Use, Not Shape Alone
Start with the pond’s purpose. A reflective pool with a few marginal plants needs less volume than a fish pond. A fountain or waterfall adds splash, evaporation and equipment requirements. If fish are planned, research species-specific space, depth, filtration, oxygen and winter needs before choosing the shell; many small molded ponds are not suitable for year-round fish keeping.
Compare the actual water capacity, maximum depth and usable planting shelves. Deep shelves may fit waterlilies while very shallow ledges suit marginal plants, but the correct depth depends on each plant. Look for a wide, strong rim that can be supported and concealed without loading an unsupported edge.
Rigid ponds are made from several plastics and composites. Material names alone do not establish quality or lifespan, so compare the warranty, UV resistance, temperature range, wall construction and installation instructions. Inspect the shell before installation; do not accept deep creases, cracks or damage from transport.

Select a Location You Can Maintain
Place the pond where it is visible from the house or a seating area and where you can reach every side for cleaning. Avoid a low point that collects soil, lawn fertilizer or storm runoff. Large trees create leaf litter and root conflicts; a windy site increases evaporation and can carry fountain spray beyond the basin.
Most planted ponds benefit from a balance of sun and shade rather than all-day heat or deep shade. The precise light requirement depends on the plants and climate. Leave space for a pump, filter, cables and hoses, and plan how they will be serviced without dismantling the finished edge.
Before digging, locate underground utilities and check local rules for excavation, electrical work and open water. Keep the pond away from foundations, septic components and any slope that could move or drain toward a building.
Mark and Excavate the Hole
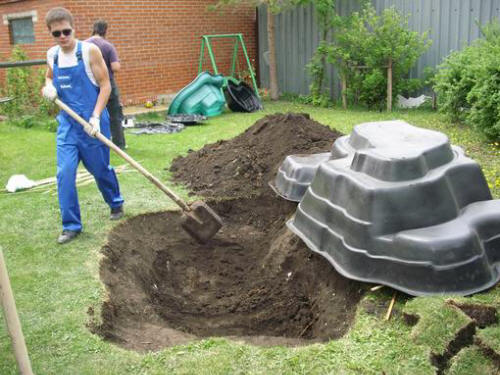
Set the empty shell in its final position and rotate it until the best view faces the house or path. Mark the outer rim with sand or marking paint. For an irregular shell, take measurements from fixed reference points and mark each shelf separately as the excavation deepens.
Dig slightly wider and deeper than the basin according to the manufacturer’s allowance for bedding and backfill. Avoid a large oversized cavity: it is harder to support evenly and requires more fill. Remove sharp stones, roots and loose pockets of soil. Keep excavated topsoil separate from subsoil if it will be reused around the pond.
Create a Level, Stable Base
Prepare the base exactly as the shell manufacturer specifies. Many systems use a thin, level layer of filling sand to smooth minor irregularities; some large composite basins require a different foundation. Do not invent a concrete slab or thick loose sand bed unless the instructions call for it.
Lower the empty shell into the excavation and check the rim in several directions with a long spirit level or laser level. Measure across multiple points rather than one convenient straight edge. Lift the shell out to correct the base instead of forcing the rim down. An uneven pond makes the waterline expose one side and may put stress on the structure.
Fill and Backfill Together
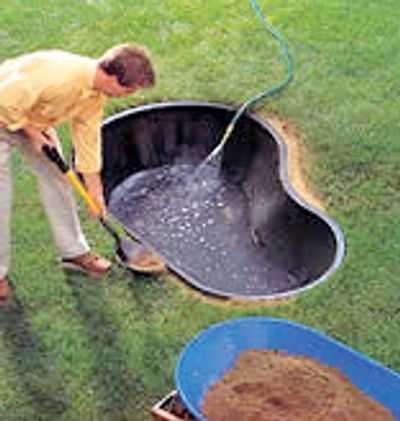
Once the basin is level, add water to approximately one-third of its depth, or to the stage specified by the manufacturer. This seats the shell and provides counterpressure. Place the approved backfill around the outside in shallow lifts while raising the water level inside by a similar amount.
Work around the entire perimeter, filling beneath shelves and curved sides rather than leaving hidden voids. Some manufacturers specify that sand should be washed into the gap with water; others require dry placement or a different material. Follow the product instructions because excessive compaction, heavy clay or uneven water pressure can distort a lightweight shell.

Install the Pump, Filter and Electrical Supply
Choose equipment for the pond volume, fish load and intended feature. A fountain or waterfall pump must deliver the required flow at the actual head height, not merely have a suitable wattage. Keep intakes and filters accessible, and do not bury service connections under permanent stonework.
Use only outdoor or submersible equipment approved for the application. Ground-fault protection is essential, and local electrical rules may determine receptacle location, cable routing and disconnects. Have a qualified electrician install any new circuit or permanent wiring. Disconnect power before putting your hands in the water or servicing equipment.
Finish the Edge Without Stressing the Shell
Allow the installation to settle, verify the level again and then finish the perimeter. Stone used to hide the rim should rest on stable ground or a designed support—not on an unsupported plastic lip. Keep soil and mulch below the waterline so they do not wick water out of the pond or wash nutrients into it.
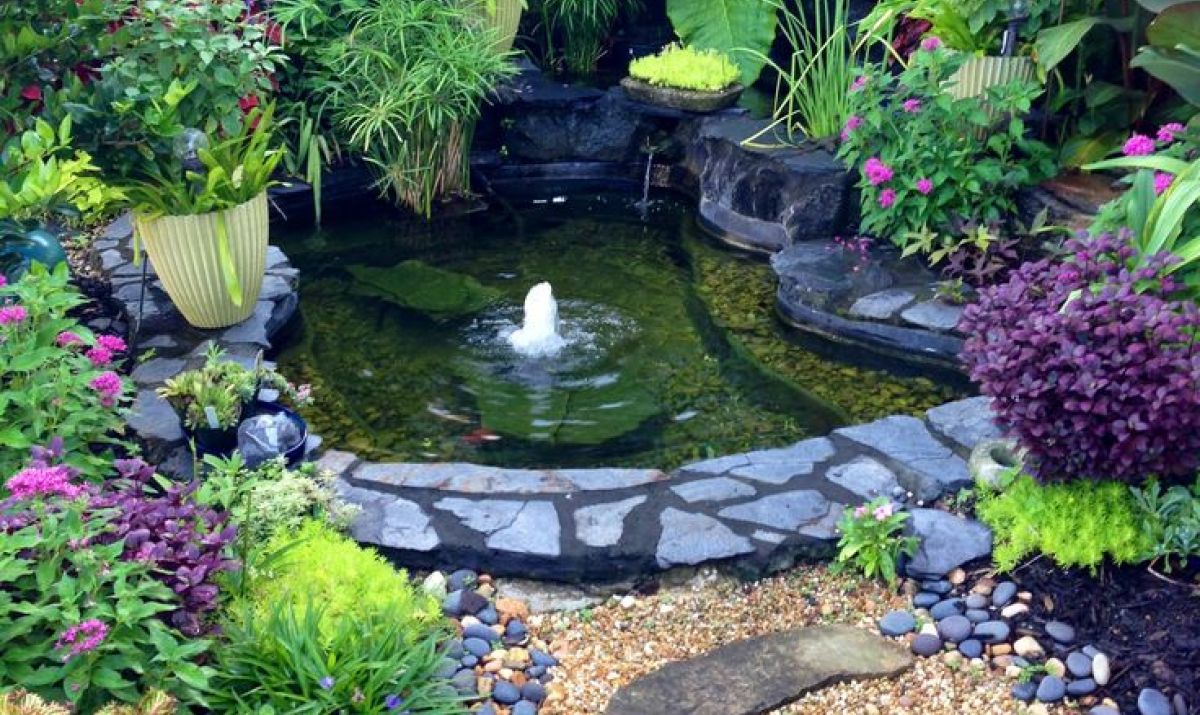
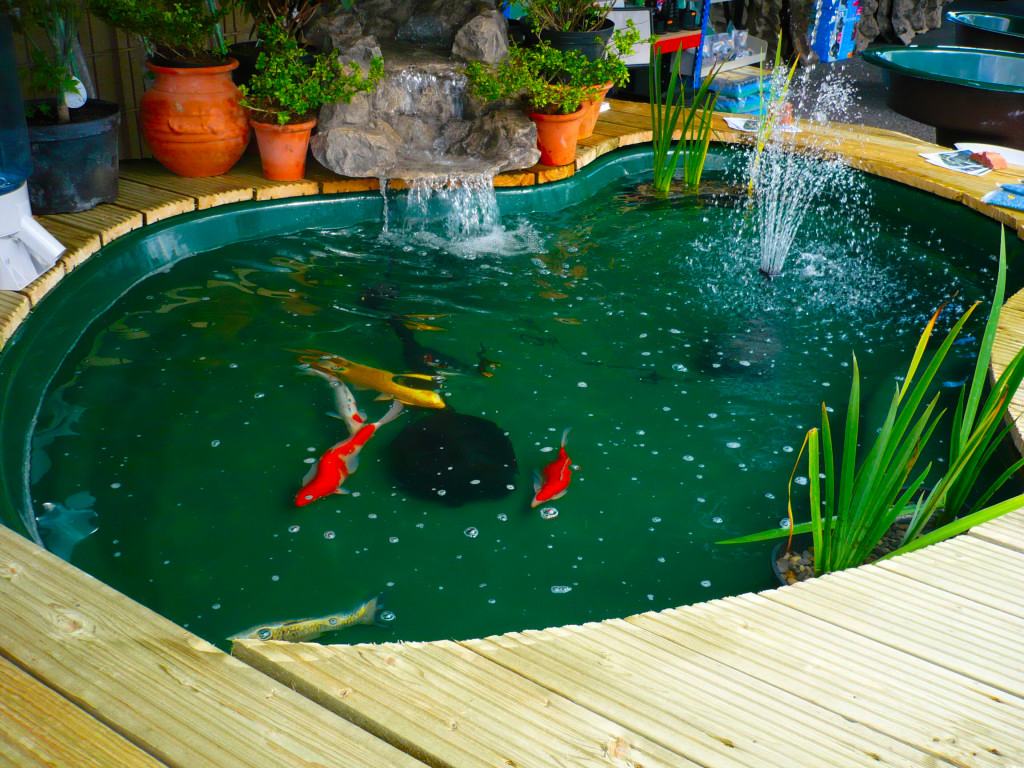
Use a few appropriately scaled stones instead of surrounding a small basin with an oversized rock necklace. Marginal plants soften the edge, while low groundcovers connect the pond to the wider garden. Leave at least one clear access route to the pump and a shallow escape point for wildlife.
Routine Care and Seasonal Checks
Remove leaves before they sink, clean pump screens and filters as directed, and top up for evaporation. A net during autumn leaf fall can reduce debris if it is kept taut and removed before snow or ice makes it unsafe. Avoid routine complete water changes; sudden changes in chemistry and temperature can stress fish and other pond life.
Watch for an unexpected drop in level, movement at the rim or soft spots around the shell. These may indicate splash loss, a plumbing leak, settlement or inadequate support. Repair the cause rather than disguising the changing waterline with more stone.

Winter treatment depends on the shell, equipment, climate, plants and animals. Do not rely on a universal minimum depth or temperature claim. Follow the basin and equipment manuals, and use our guide to winterizing a garden pond when planning cold-weather care.
A properly installed shell should look simple because the important work is hidden: a level base, continuous support and balanced backfilling. Once those details are correct, pond plants, restrained stonework and a small recirculating feature can make the rigid basin feel integrated with the garden.