A pebble garden path can be a simple loose-stone walkway or a decorative mosaic set into mortar. Both use rounded stone, but they behave very differently. Loose pebbles are quick to install and allow water to infiltrate; a mosaic is slower and more demanding but creates a permanent patterned surface.
The key is to match the method to the location. Smooth round pebbles look beautiful, yet a deep loose layer can roll underfoot and become difficult for carts, bicycles, and anyone with limited mobility. For a main route, use a firm compacted base and only a shallow pebble finish—or reserve pebbles for inlaid borders and low-traffic paths.
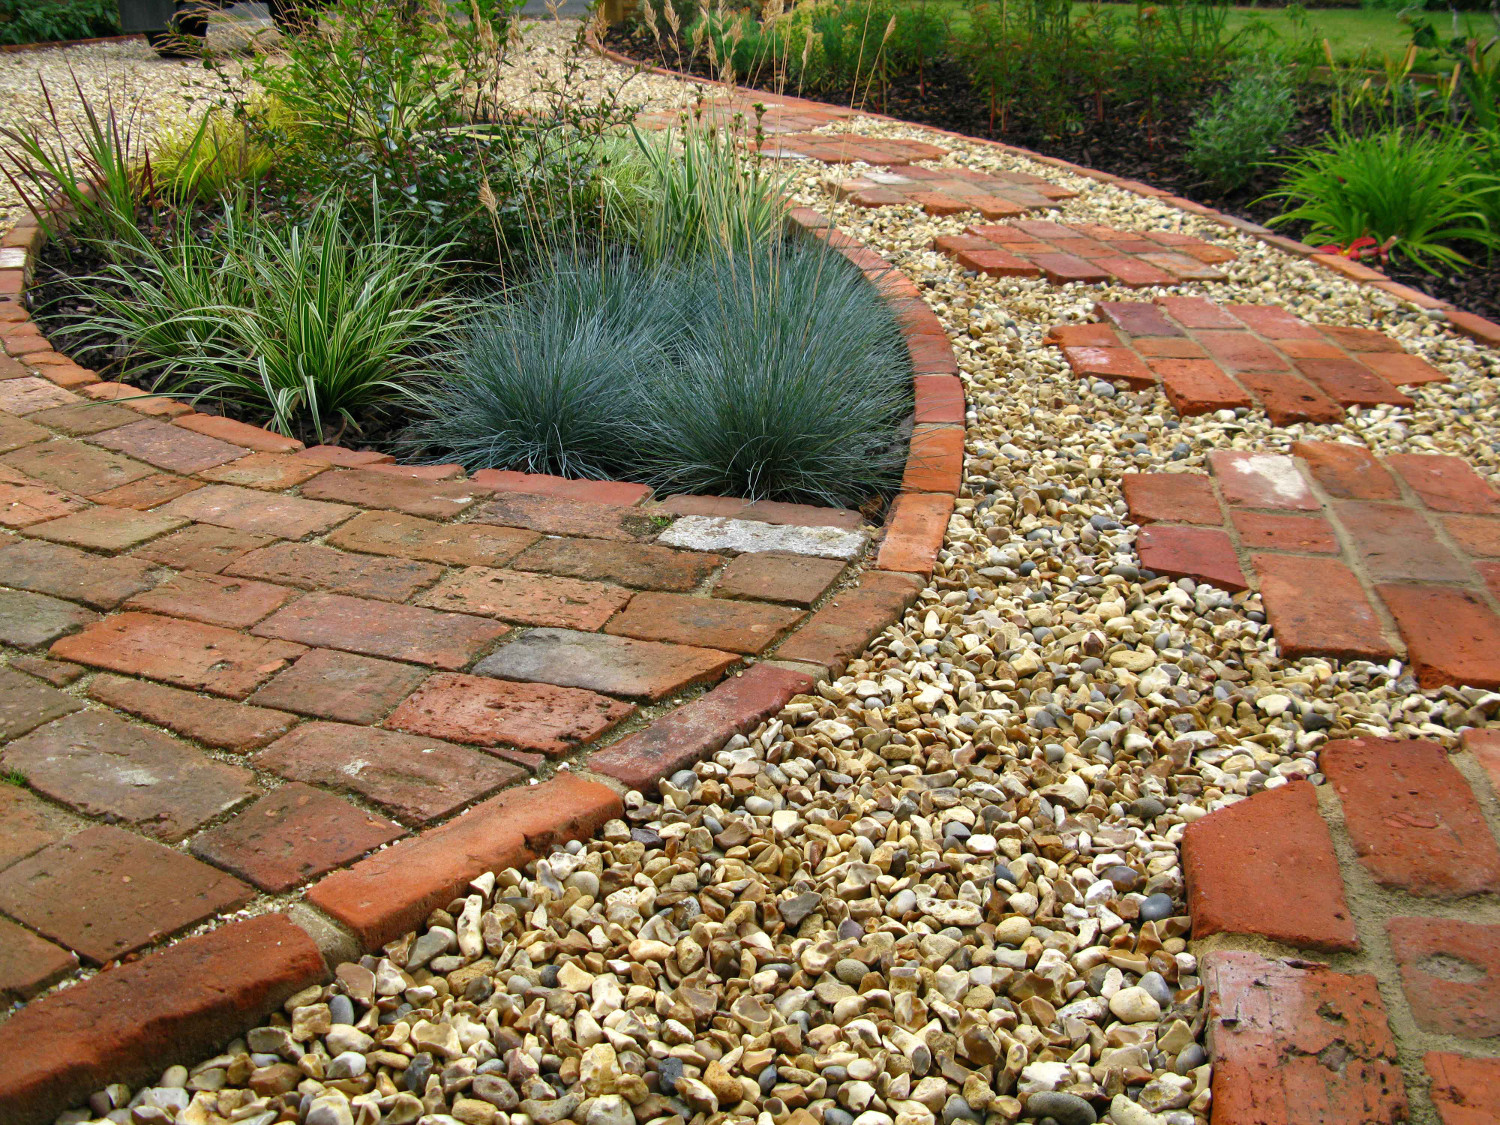
Where a pebble path works best
Pebbles suit coastal gardens, dry gardens, Japanese-inspired landscapes, and informal planting where their rounded shapes echo water and weathered stone. They are practical around a pond only when runoff cannot wash loose material into the water. Avoid placing loose pebbles directly beside a lawn unless strong edging prevents stones from reaching mower blades.
For an accessible route, compacted angular aggregate or paving is generally easier to travel than loose rounded stone. Pebbles can still be used as a narrow decorative band beside the firm walking surface.
River pebbles or beach pebbles?
Buy stone from a landscape supplier rather than collecting it from beaches, rivers, or protected land. Removal may be restricted, and a supplier can provide a consistent size and enough material to finish the project.
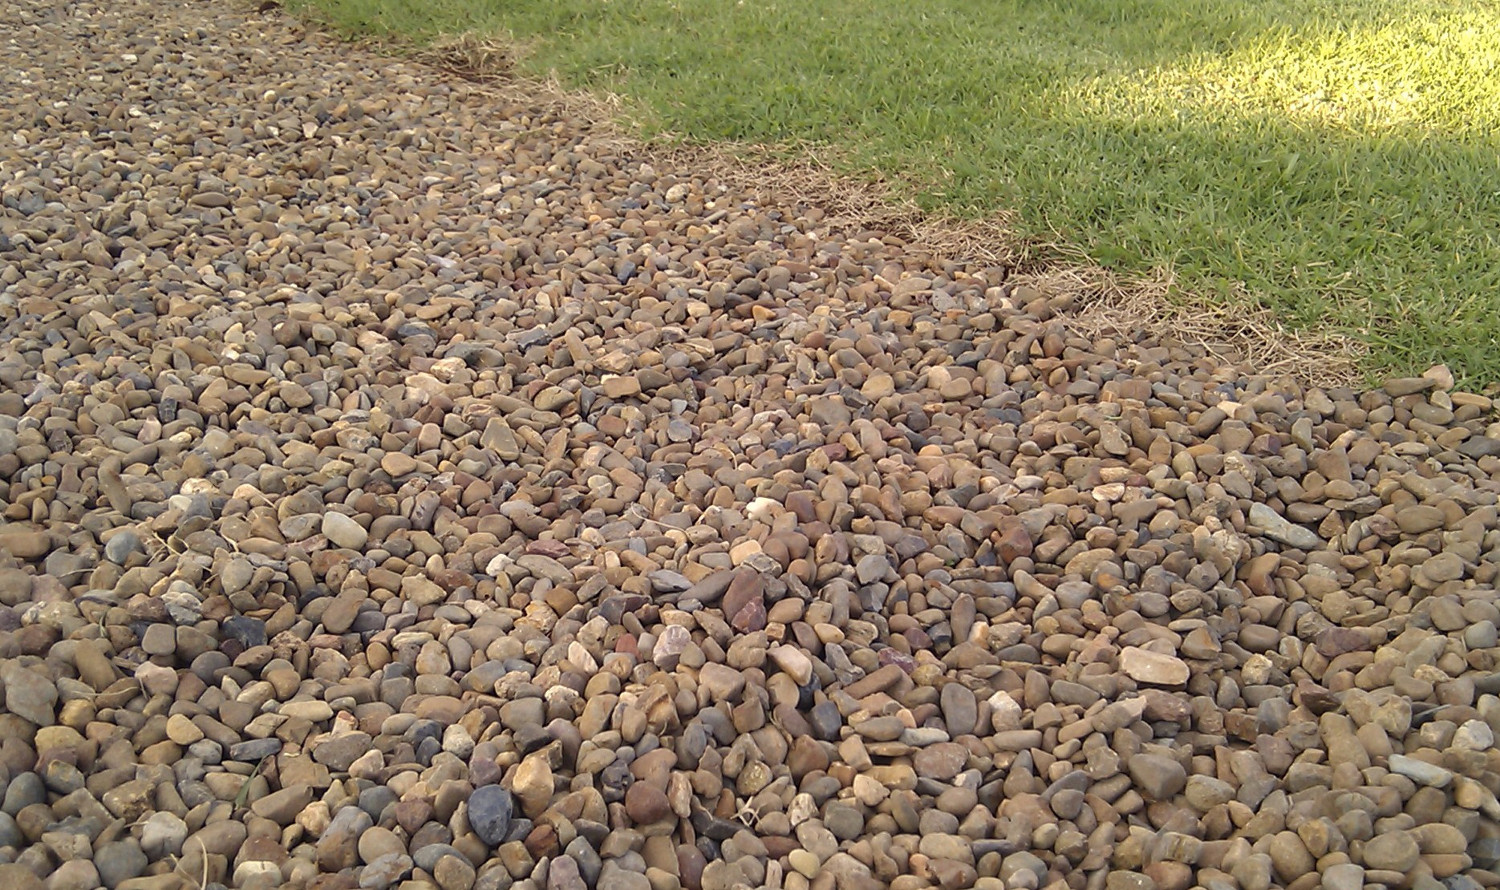
River pebbles are available in many regional colors and sizes. Smaller particles settle more tightly, while large cobbles create an uneven walking surface. For a loose path, choose pieces small enough to rake and walk on comfortably. Wash a sample to see its true color before ordering.

Materials and tools
- stakes, string, or marking paint;
- spade, rake, wheelbarrow, and hand tamper or plate compactor;
- edging suitable for curves;
- compactable crushed-stone base;
- optional permeable separation geotextile;
- washed pebbles of a consistent size;
- eye protection, gloves, and hearing protection for powered equipment.
Estimate volume by multiplying path length by width by the intended layer depth. Convert all measurements to the same unit, then add roughly 5–10 percent for settlement and small corrections. Your supplier can convert the result into cubic yards, cubic meters, or tons for the specific stone.
How to build a loose pebble path
- Lay out the route. Check curves from several viewpoints and make sure gates and intersections remain comfortable.
- Excavate. Remove turf, roots, and loose topsoil. The finished path should sit slightly above adjacent soil rather than forming a drainage channel.
- Compact the subgrade. Shape a subtle crown or cross slope so water can leave the surface.
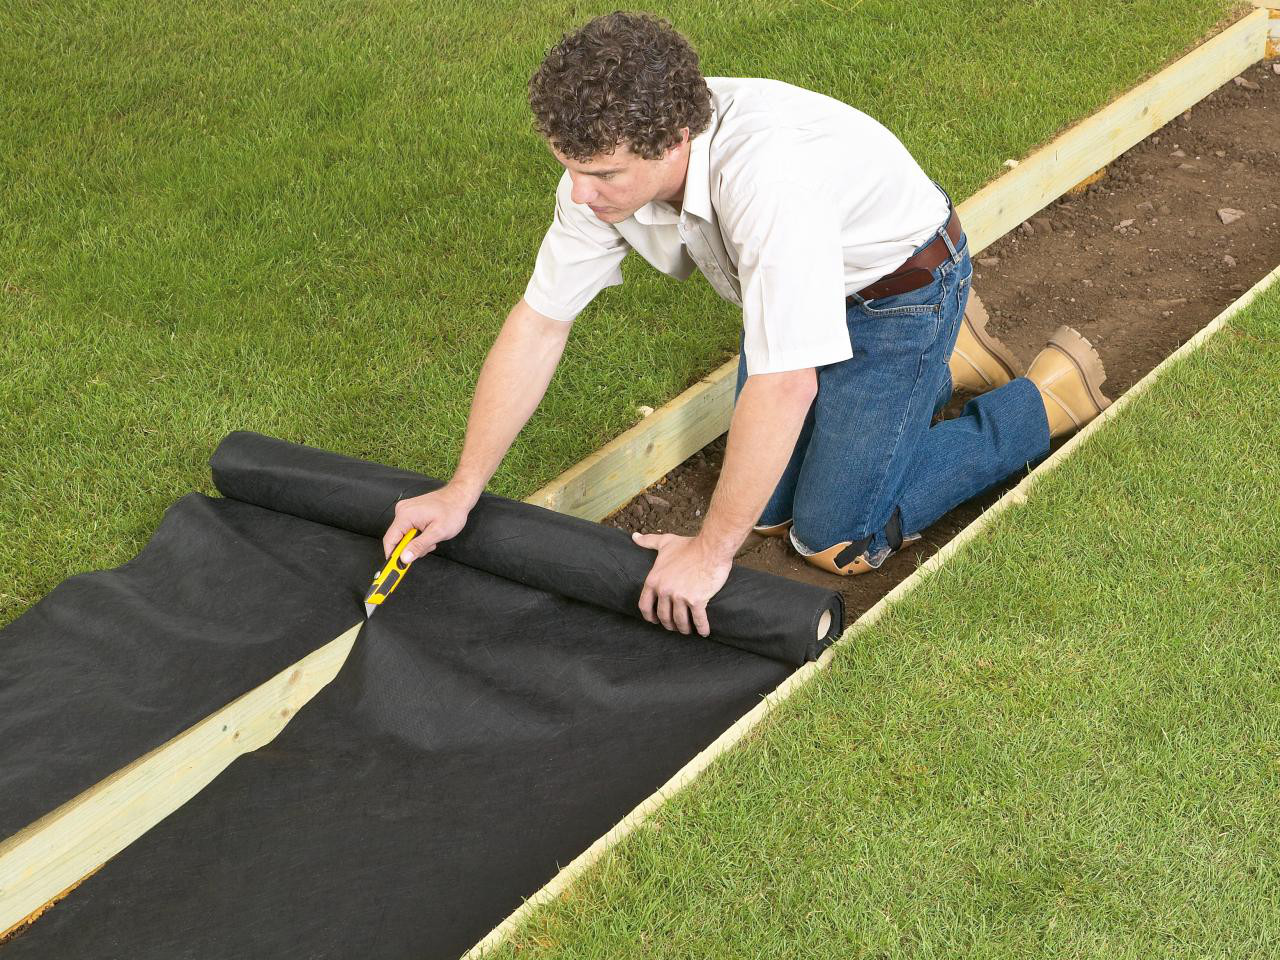
- Add geotextile where needed. A permeable separation fabric can keep soft soil from migrating into the stone base. Do not use an impermeable plastic sheet, which can trap water. See our guide to geotextile under garden paths.
- Install edging. Anchor it securely before placing stone.
- Build the base. Add compactable crushed stone in thin lifts and compact each one. A stable base is more important than a thick decorative layer.
- Add the pebbles. Spread a shallow finish layer, rake it level, and walk the path. Remove or reposition any uncomfortable large stones.
How to make a pebble mosaic
A true pebble mosaic is set into a rigid bed, commonly within a reinforced concrete slab or a mortar layer designed for exterior paving. The structure must suit local soil, drainage, frost, and load conditions. Large installations or freeze-thaw climates may justify professional advice.
- Draw the pattern full size or divide it into a measured grid.
- Sort clean pebbles by size, color, and shape before mixing mortar.
- Prepare a stable edged base with positive drainage.
- Work in small sections. Set each pebble deeply enough to be secure while leaving a comfortable, even surface.
- Use a straight board to check the plane and prevent high points that could become trip hazards.
- Clean mortar from the exposed stone before it hardens, following the product instructions.
- Protect the work and allow the full cure time specified for the mortar or concrete.
Designing the pattern
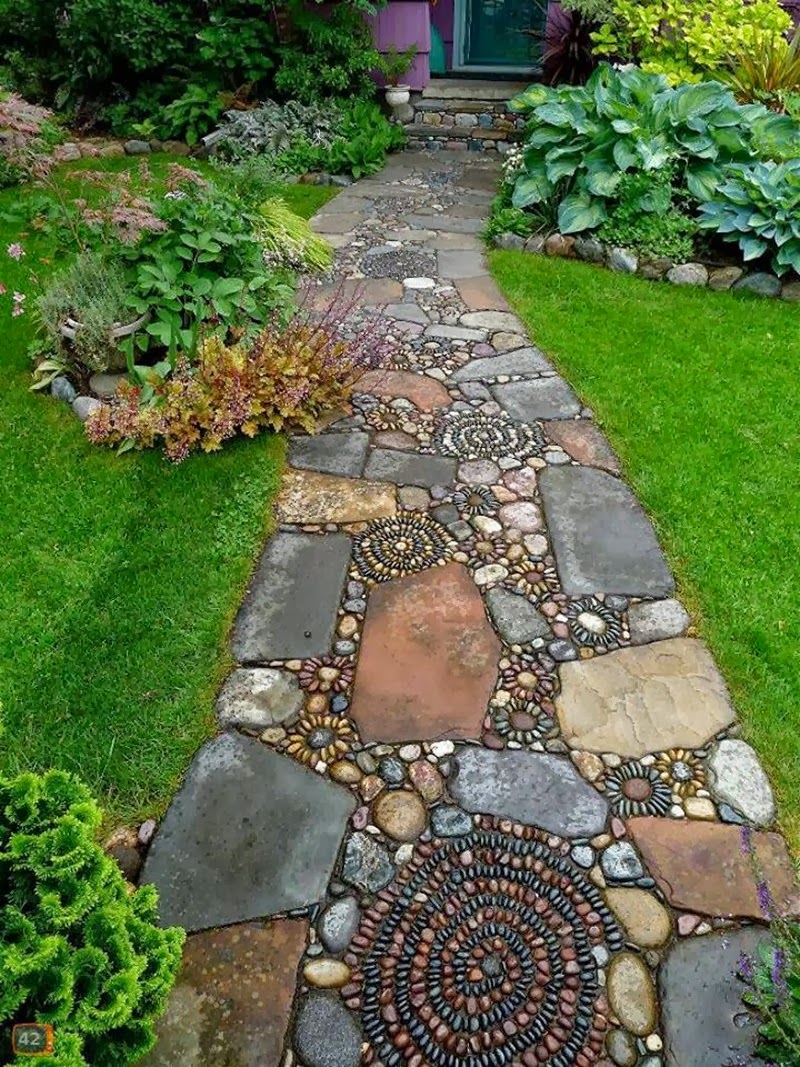
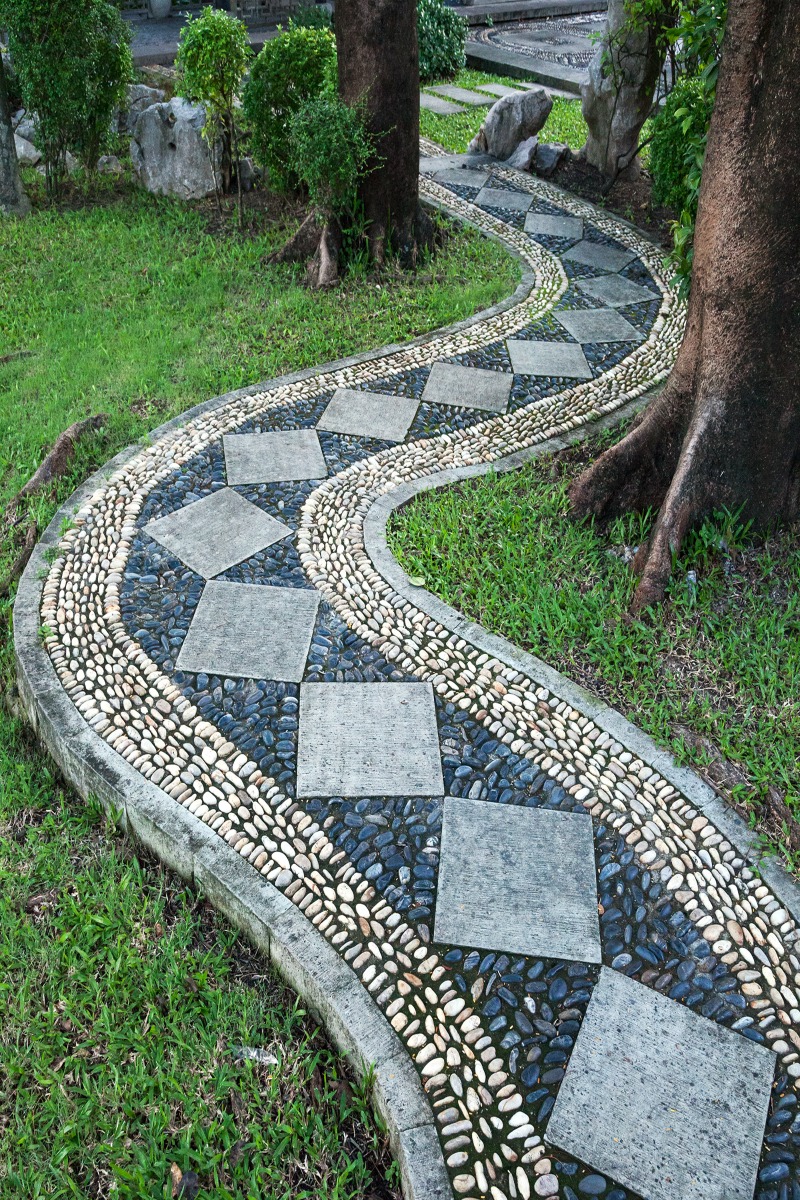
Start with a simple border, wave, spiral, or repeated leaf shape. Strong contrast makes the design readable: pale stones against charcoal, warm brown against cool gray, or a dark outline around mixed fieldstone. Dry-lay a section first and photograph it from above. This exposes awkward gaps before the stones are fixed.

Maintenance
Rake loose paths lightly, replenish migrated material, and remove leaves before they break down into soil. Weeds usually germinate in organic debris above the base, so fabric alone will not eliminate them. Repair runoff channels promptly and keep edging tight.
Inspect mosaics for loose stones and cracks. Avoid aggressive pressure washing at close range because it can erode joints. In icy conditions, use products compatible with the paving materials and follow their labels.
Loose pebbles or a mosaic?
Choose a loose path for speed, permeability, and easy changes. Choose a mosaic for a focal point, entry walk, or garden ornament where careful construction is justified. If you want a firmer everyday surface, compare a compacted gravel garden path. For rustic alternatives, see our guides to wood-slice paths and affordable garden paths.