A wood-slice garden path turns logs and large branches into a warm, rustic surface. The rings, varied diameters, and natural color make every path unique. It is also a project with an honest limitation: wood in contact with damp soil eventually decays. Good drainage, durable species, careful preparation, and replaceable sections can extend its life, but this is not a permanent substitute for stone or concrete.
Use wood rounds on a lightly traveled decorative path, not where a consistently smooth, slip-resistant, accessible surface is required. Wet wood, moss, frost, and uneven settling can all create hazards.

Advantages and tradeoffs
- Character: growth rings and mixed diameters create a handmade look.
- Reuse: sound logs from local tree work can become useful paving.
- Flexible layout: rounds fit curves and irregular garden spaces.
- Repairability: individual pieces can be lifted and replaced.
The drawbacks are decay, movement, seasonal checking, and slipperiness. A path may need periodic leveling and replacement of rounds. It should not be built from diseased, insect-infested, badly split, or unidentified salvaged timber.
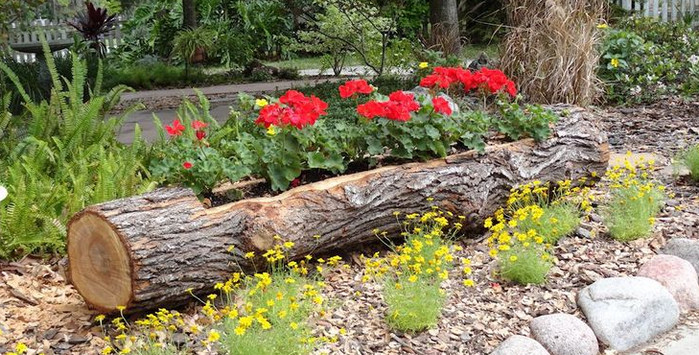
Choose the right wood
Naturally rot-resistant species generally last longer than soft, perishable wood. What is available varies by region; cedar, black locust, white oak, and some durable cypresses are common examples. Even durable heartwood will eventually deteriorate when repeatedly wet.
Avoid old railroad ties, utility poles, and unknown reclaimed lumber. They may contain preservatives unsuitable for frequent residential contact. If you use a preservative or exterior wood treatment, select a product specifically labeled for the intended outdoor use and follow the label for application, drying, personal protection, and disposal. Do not improvise with used motor oil, diesel fuel, creosote, or other unapproved chemicals.

How thick should wood slices be?
Cutting all rounds to an identical thickness makes installation much easier. For a pedestrian garden path, pieces around 3 to 5 inches (7.5–12.5 cm) thick are commonly manageable, but diameter, species, condition, and expected loads matter. Very thin disks split and rock easily; extremely thick pieces are heavy and require deeper excavation.
Use a stable sawhorse or log cradle and a properly maintained saw. Cutting logs can be dangerous. Wear eye, hearing, leg, hand, and foot protection appropriate to the tool, and follow the manufacturer’s instructions. If you are not experienced with a chainsaw, have an arborist or sawmill cut the rounds.
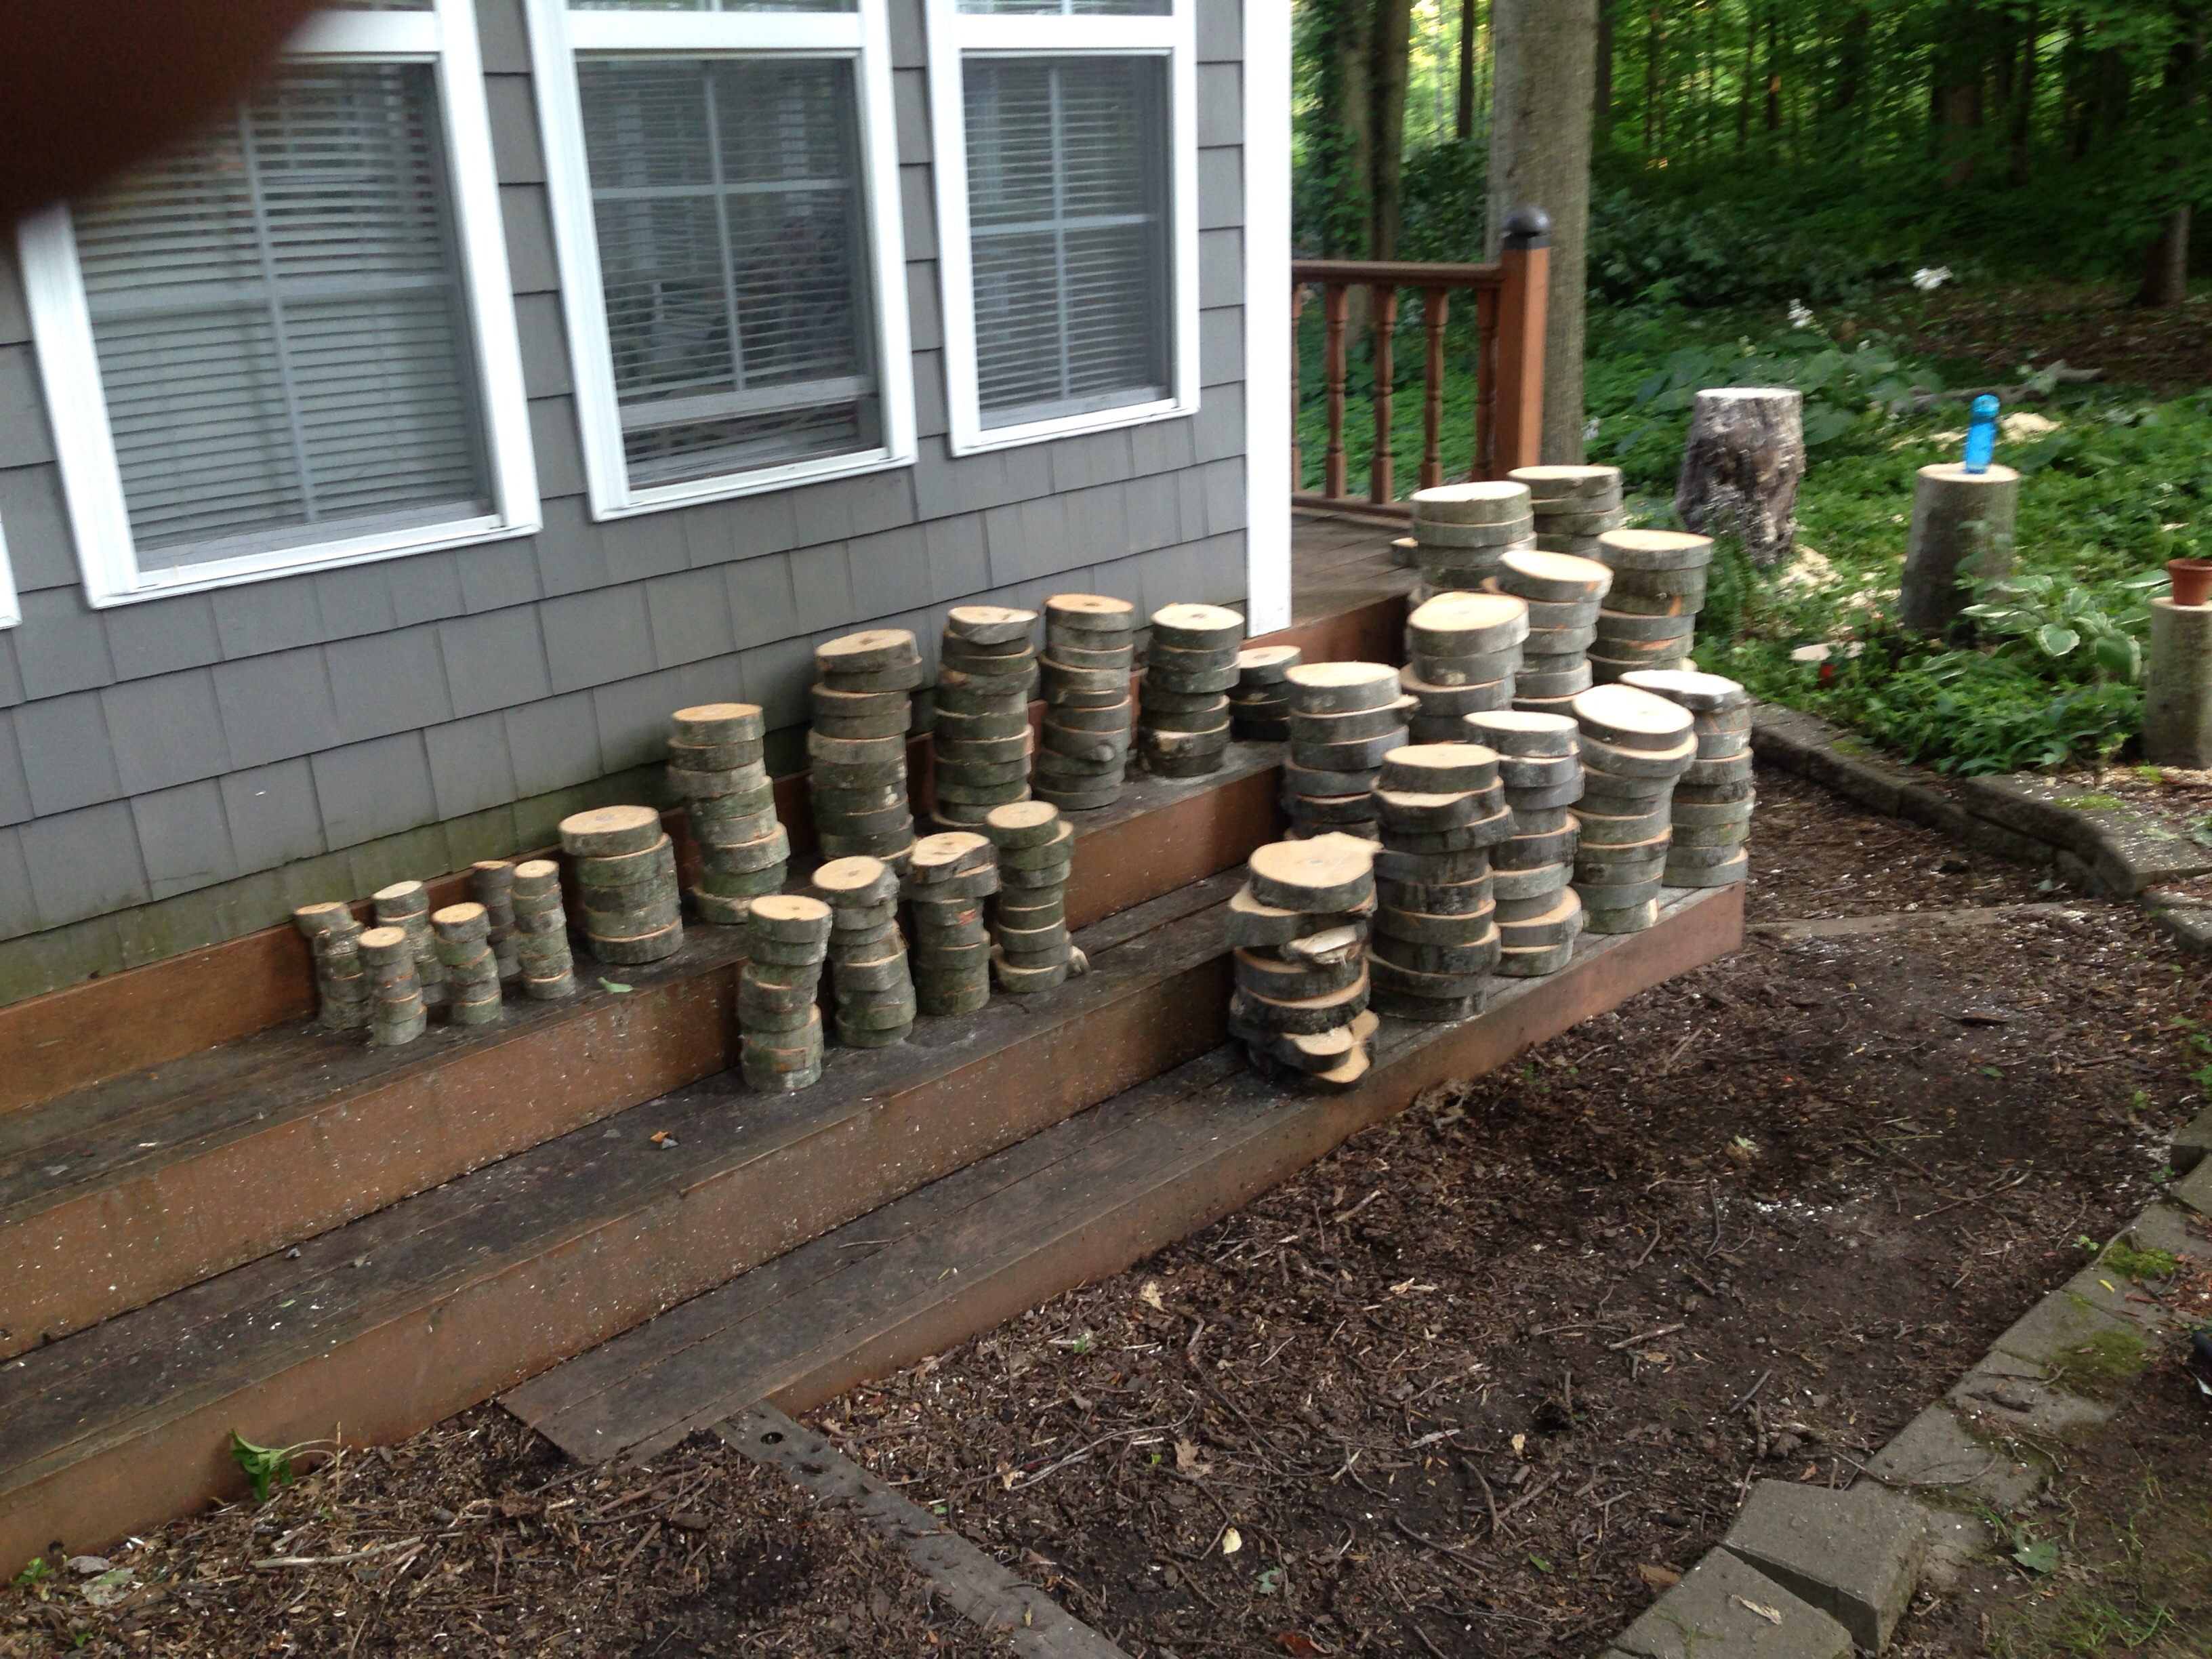
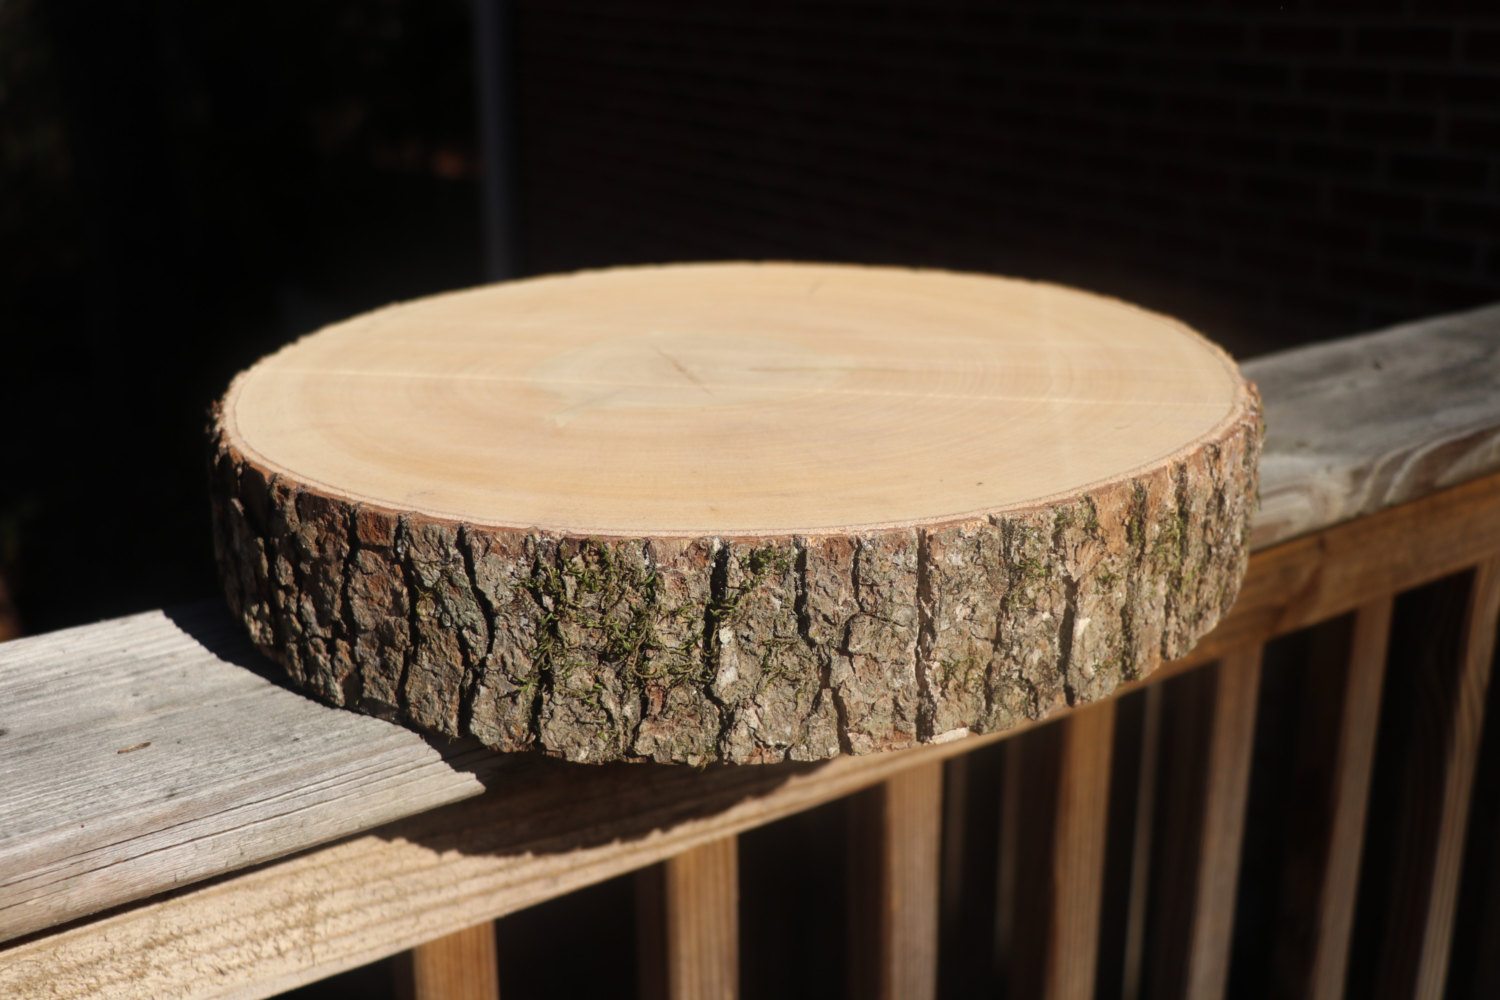
Dry and prepare the rounds
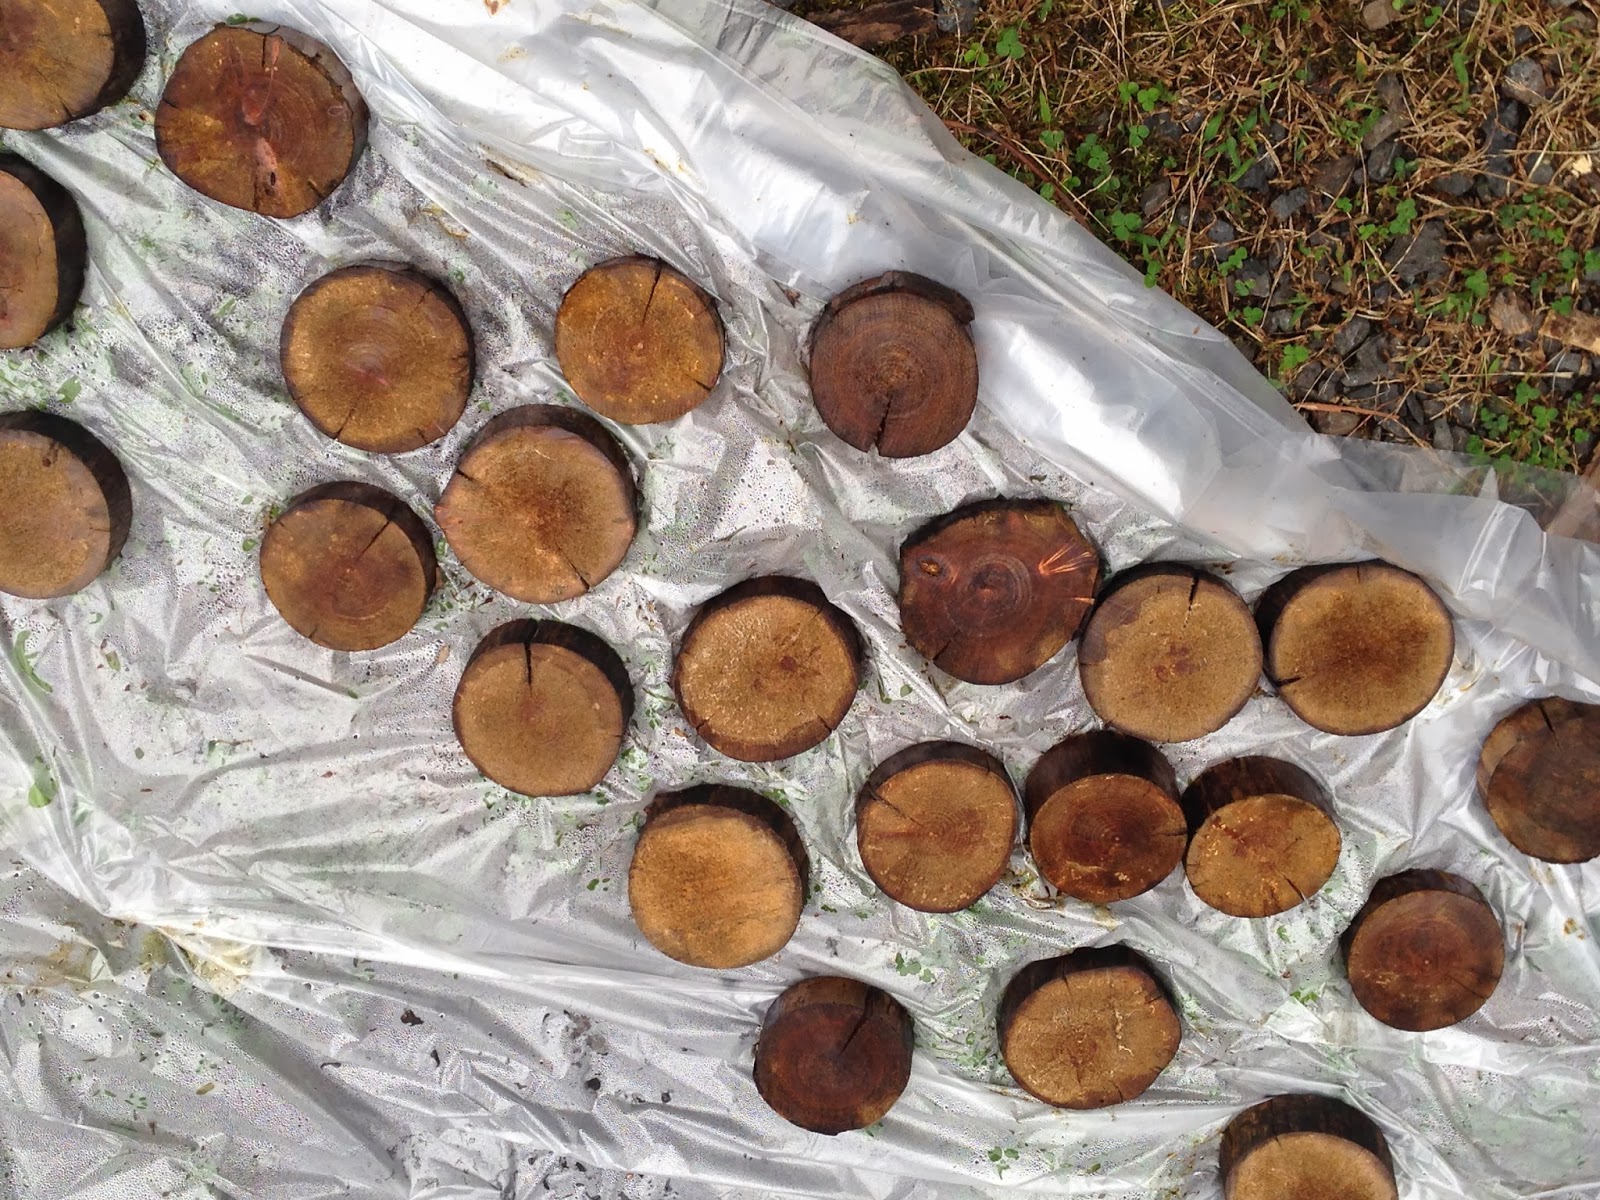
Brush off loose bark and dirt, then allow the pieces to dry in a covered, ventilated place. Some checking is normal as end grain loses moisture. Removing loose bark reduces hiding places for insects and makes inspection easier, although the final choice is aesthetic.
Sand sharp splinters and unstable edges. Apply only a suitable exterior product according to its label. Film-forming finishes may peel as wood moves; penetrating products are often easier to maintain, but no coating can compensate for standing water or constant soil contact.
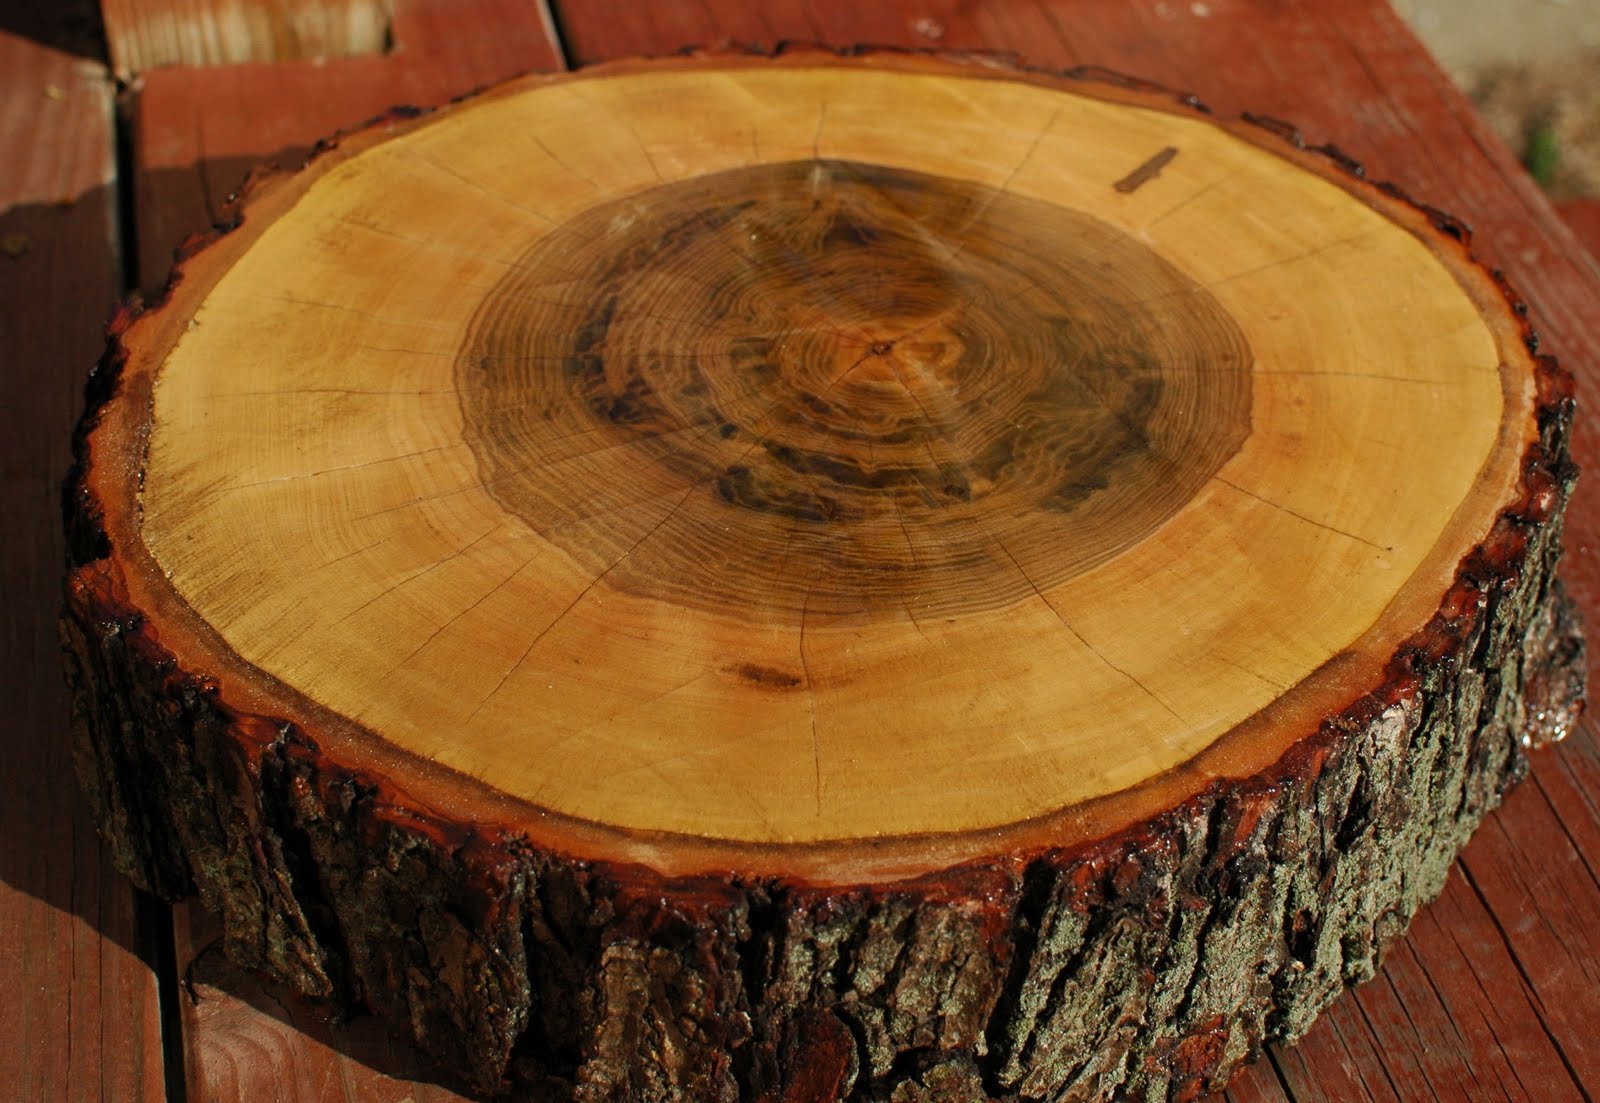
Build a free-draining base
- Mark the path. Aim for comfortable steps and avoid low areas that collect water.
- Excavate. Remove vegetation and topsoil deeply enough for the base, bedding layer, and rounds. Call the local utility-marking service before digging.
- Shape the subgrade. Create a slight crown or cross slope so water leaves the path.
- Add separation fabric if needed. On soft soil, a permeable geotextile can reduce mixing with the stone. Do not wrap the path in impermeable plastic. See when to use geotextile under a path.
- Compact the base. Place compactable crushed stone in thin lifts and compact each layer.
- Add a leveling layer. Use a shallow layer of coarse sand or fine crushed aggregate that can be adjusted beneath individual rounds.
Lay the wood rounds
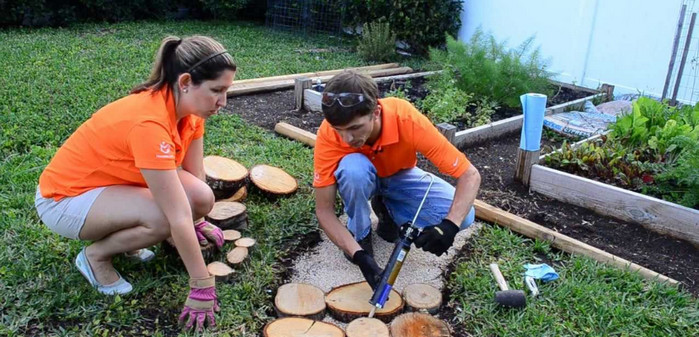
Arrange the largest pieces first, keeping their tops close to the planned finished level. Rotate neighboring rounds to vary the grain pattern, then fill gaps with smaller pieces. Bed each round firmly and check for rocking. Keep the surface as even as practical and avoid proud edges that catch a toe.
Fill narrow joints with fine gravel rather than garden soil, which holds moisture against the wood and supports weeds. Wider gaps can be planted only if the location and plants are compatible with foot traffic; otherwise they become trip points.

Edging and surrounding material
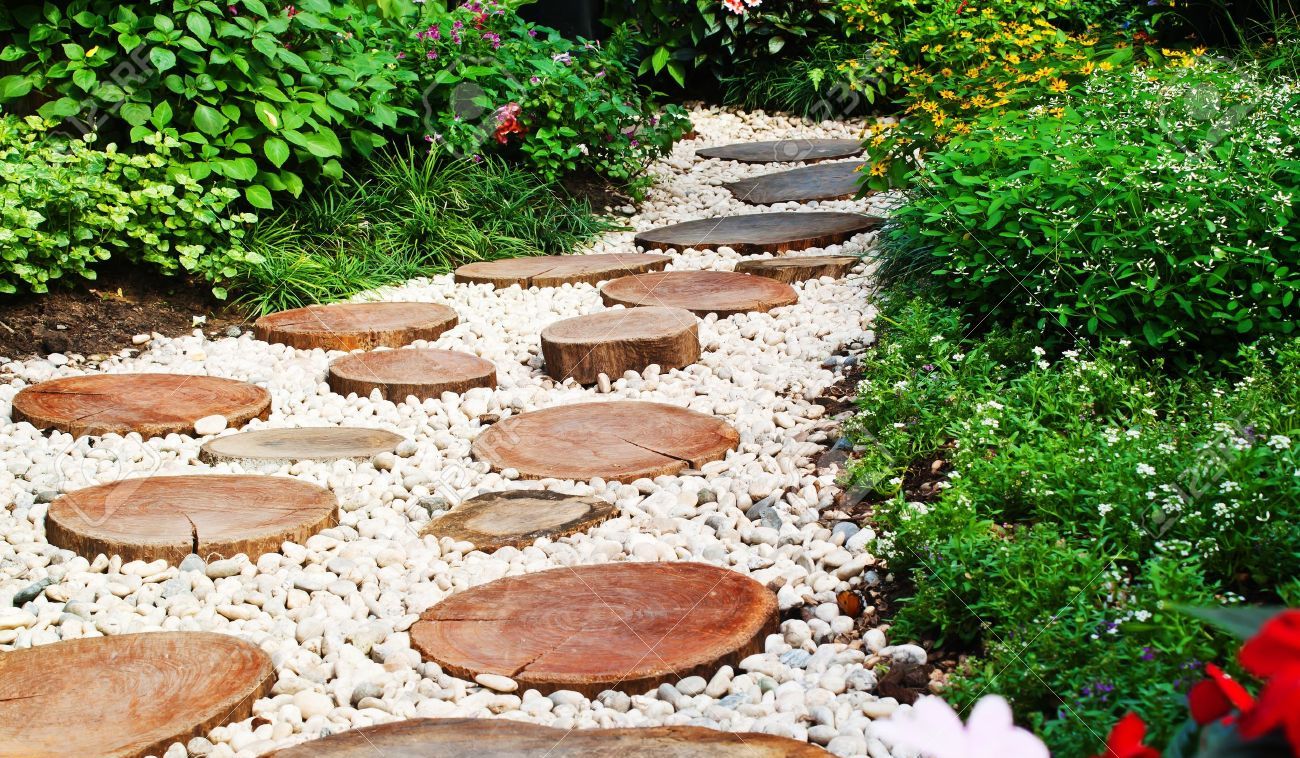
Edging helps keep the base and joint aggregate in place. Timber, steel, stone, or flexible landscape edging can work, provided it is anchored and does not project above the walking surface. A border of gravel visually separates the wood from wet soil and makes individual rounds easier to replace.
Maintenance and service life
Inspect the path at least each spring and after prolonged wet weather. Replace soft, loose, deeply cracked, or unstable rounds. Sweep away leaves, prevent irrigation from soaking the path unnecessarily, and remove algae or moss before the surface becomes slippery. Replenish joint gravel and correct depressions that hold water.
Never burn treated or coated pieces. Dispose of them according to the product label and local waste rules.
Is a wood-slice path right for your garden?
Choose it for a decorative woodland route, a short path to a shed, or a feature in a rustic garden where periodic repair is acceptable. For a more durable everyday walkway, consider a compacted gravel path or one of our other affordable garden path ideas. A well-drained installation will not make wood permanent, but it will make this charming material safer and more practical.