A shaded yard in Texas can use less water than a sunny lawn, but only when it is designed around the realities of heat, tree roots, and uneven rainfall. Shade reduces evaporation, yet mature trees also intercept rain and compete with every new plant. The result is often dry shade—the condition that frustrates many homeowners.
A successful low-water shade garden begins with site analysis, not a shopping list. This step-by-step plan helps you protect existing trees, choose the right plants, install them with minimal disturbance, and reduce irrigation after establishment.
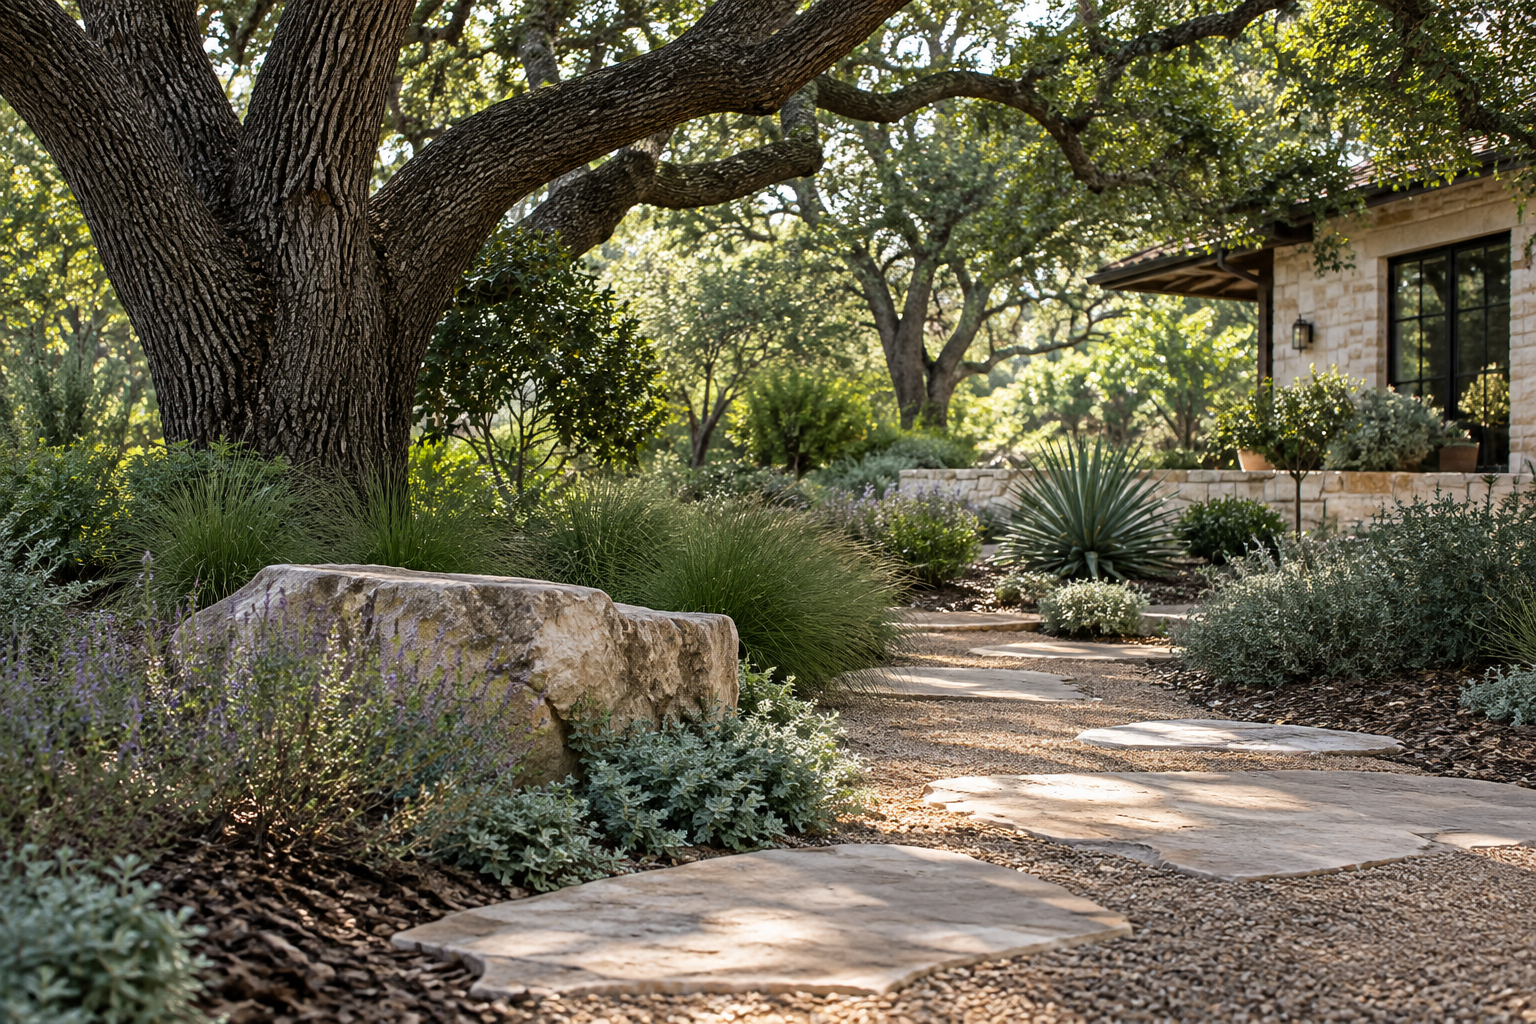
Step 1: Map the shade before you plant
Observe the yard in morning, midday, and late afternoon. Repeat the check in more than one season if possible, because the sun angle changes and deciduous trees lose their leaves. Mark four practical zones:
- Deep shade: little direct light, often close to a dense canopy or north-facing wall.
- Dappled shade: moving spots of sun beneath an open canopy.
- Morning sun and afternoon shade: a favorable zone for many flowering plants.
- Bright canopy edge: several hours of sun with root competition from nearby trees.
Do not assume that every shaded spot has the same moisture. Check the soil after rain. One area may receive roof runoff while another remains dry because branches shed water beyond the bed.
Step 2: Protect existing trees
Large trees are the most valuable element in a Texas shade garden. Their root systems extend far beyond the trunk, and many important roots occupy the upper soil. Construction that seems minor—rototilling, cutting roots, adding a raised bed, or piling soil around the trunk—can stress a tree for years.
Use these rules in the root zone:
- Leave the trunk flare visible and keep mulch away from the bark.
- Avoid grade changes and deep excavation.
- Use small nursery pots or plugs instead of large root balls.
- Hand-dig each hole and move it if you encounter a major root.
- Keep the driest inner zone simple; mulch and leaf litter may be the best “planting” there.
For detailed plant options beneath oaks, see our guide to the best shade plants for Central Texas.
Step 3: Decide what the garden must do
List the functions before choosing plants. Do you need privacy, a view from a window, a path to the gate, erosion control, or habitat for birds and pollinators? A low-water design becomes easier when every space has a purpose.
Keep regular foot traffic on a defined path rather than asking delicate woodland plants to behave like turf. Use stepping stones, decomposed granite outside major root zones, or a mulched trail. Where children or pets need an open surface, retain a small practical area and turn the rest into layered planting.
Step 4: Build a simple plant palette
Choose a small number of reliable plants and repeat them. Repetition looks intentional and simplifies irrigation and maintenance. A balanced shade garden can use four layers:
| Layer | Purpose | Central Texas examples |
|---|---|---|
| Canopy | Existing shade and structure | Live oak, cedar elm, bur oak |
| Large shrubs | Screening and year-round form | Yaupon holly, rusty blackhaw |
| Medium shrubs/perennials | Flowers, berries, wildlife | Beautyberry, Turk’s cap, coralberry |
| Ground layer | Soil cover and visual continuity | Texas sedge, horseherb, cedar sage |
Match plants to the zone where they will actually grow. Place flowering shrubs in bright shade or morning sun. Reserve deep shade for tolerant foliage plants and mulch. Use fast-spreading species only where you want them to fill an area.
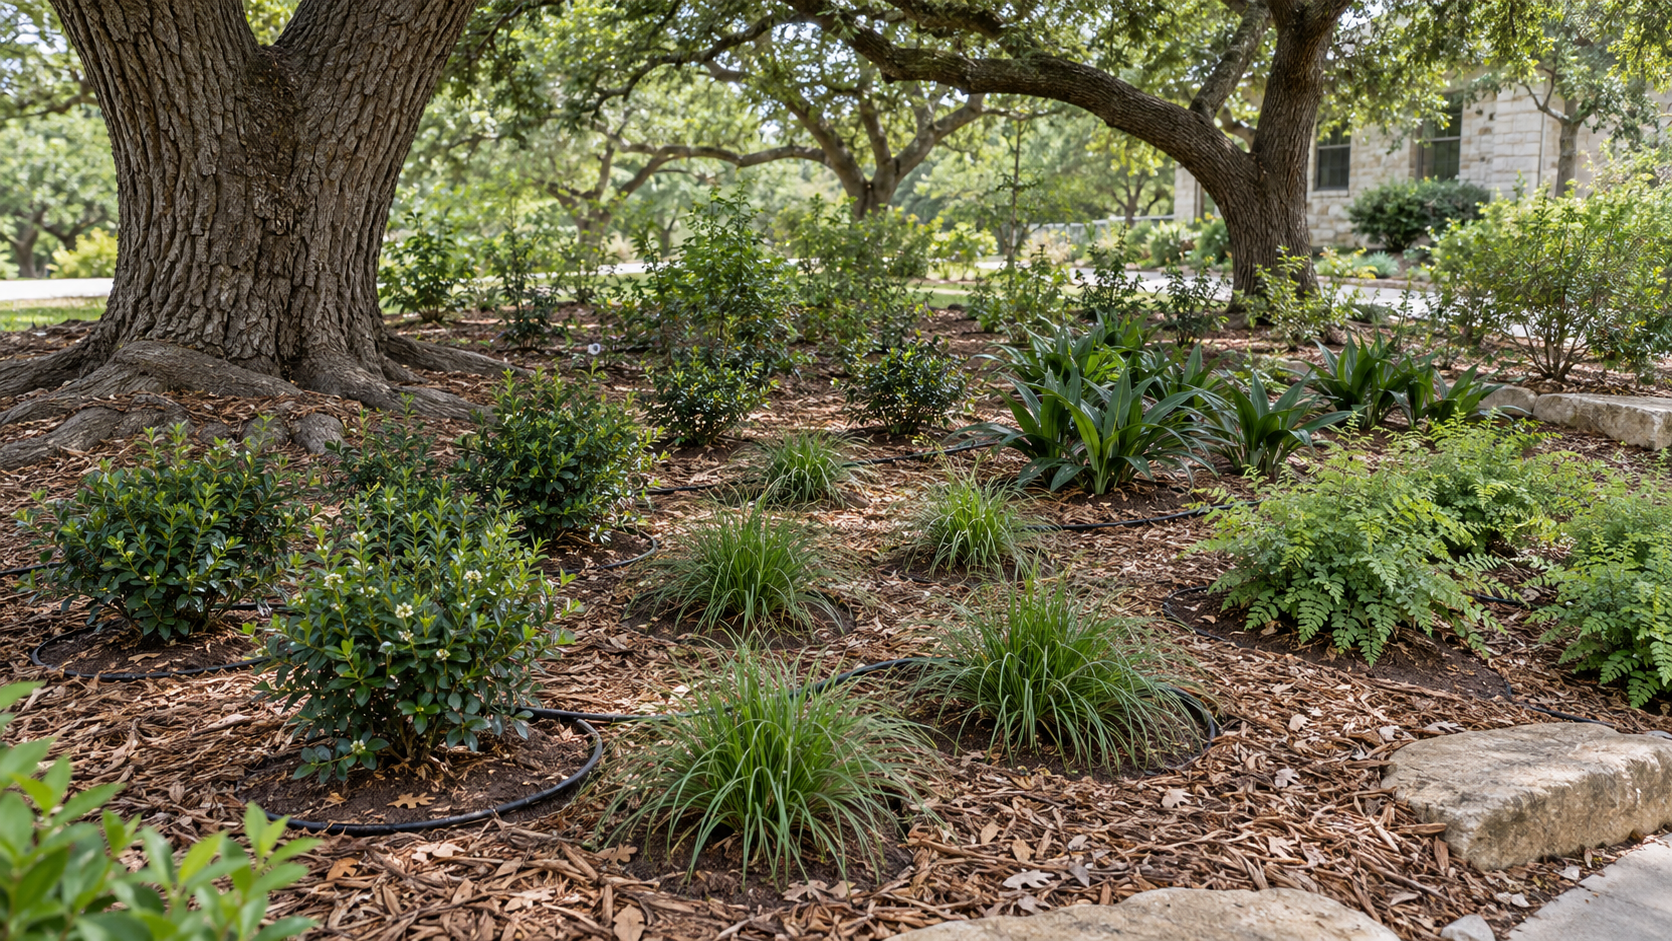
Step 5: Group plants by water need
Hydrozoning means placing plants with similar irrigation needs together. It prevents a thirsty accent plant from forcing you to overwater an entire bed.
Create an establishment zone for new plants, a minimal-water zone for established natives, and a separate zone for any containers or moisture-loving plants. If existing irrigation sprays the whole yard, convert shaded beds to dripline or carefully placed emitters. Check the system regularly; roots, animals, and mineral deposits can alter the flow.
Step 6: Improve soil carefully
Central Texas soils vary from shallow limestone to heavy clay. Instead of replacing all the soil, select plants adapted to what you have. Large-scale tilling under trees damages roots and can destroy soil structure.
Where you are planting away from major roots, mix a modest amount of compost into the immediate planting area if the soil is severely disturbed. Beneath mature trees, top-dress lightly with compost and let soil organisms incorporate it over time. Avoid creating isolated pockets of rich soil that stay wet while the surrounding ground remains dry.
Step 7: Use mulch as part of the design
Organic mulch moderates soil temperature, slows evaporation, and reduces weeds. Apply roughly 2 to 3 inches over open soil, tapering to nothing at plant crowns and tree trunks. More is not always better: deep mulch can hold excess moisture against bark and limit oxygen movement.
Leaves are valuable natural mulch in a woodland bed. Shred or redistribute heavy mats if they smother small plants, but do not feel compelled to remove every leaf. A visible mulch zone near the trunk also provides a clean transition between the tree and planted outer rings.
Step 8: Plant in the right season
Fall is often the best planting season in Central Texas. Cooler air reduces stress while soil remains warm enough for root growth. Early spring is the second choice. Summer planting is possible but increases water demand and the risk of failure.
Lay out plants in groups before digging. Repeat odd-numbered clusters rather than scattering one of everything. Space for mature width, even if the bed looks open on the first day. Mulch fills the visual gaps while plants grow.
Step 9: Water for deep roots
New native plants are not instantly drought tolerant. Water the root ball and surrounding soil thoroughly after planting. During the first weeks, check moisture by hand rather than following a rigid calendar. The root zone should become moist and then begin to dry; constantly saturated soil can be as damaging as drought.
As roots establish, water less frequently but more deeply. Weather, soil, plant size, and season determine the interval. After the first year, many well-chosen natives need supplemental irrigation mainly during prolonged drought. Watch the plants and follow local watering restrictions.
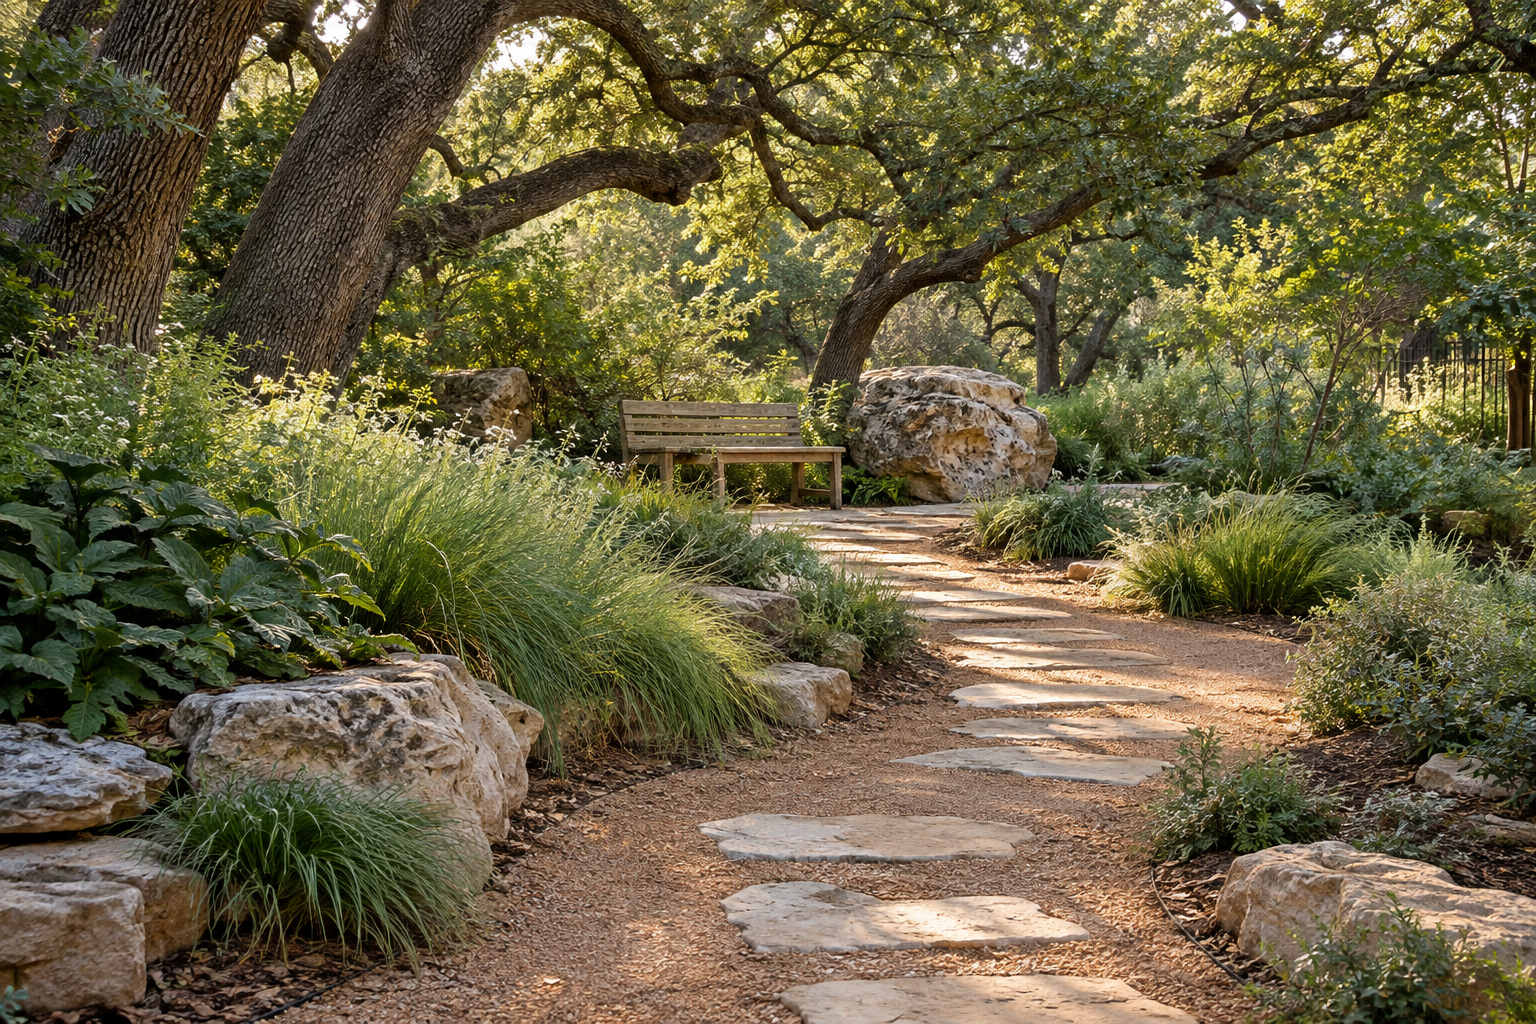
Step 10: Add a low-water path and focal point
Shade gardens benefit from a simple destination: a bench, birdbath, sculptural stone, or view framed by shrubs. One focal point is usually stronger than many small ornaments. Connect it with a clear path that keeps traffic off root zones and planting beds.
If using a birdbath, refresh the water regularly. Place it where birds have nearby cover but predators cannot hide immediately beside it.
A sample plan for a 20-by-25-foot shaded yard
Keep a 5- to 6-foot mulch-only circle around the mature tree trunk. Curve a narrow stepping-stone path along one side rather than directly across major surface roots. On the bright back edge, plant one yaupon holly for evergreen structure and a group of three beautyberries. Add five Turk’s cap plants in two repeated drifts through the middle zone.
Use Texas sedge as the primary ground layer, with small groups of cedar sage for spring color. Add horseherb near the path where occasional foot traffic occurs. Place a bench opposite the beautyberries and leave enough open mulch around it for access. The result has a canopy, shrub layer, flowering layer, and ground layer without requiring a lawn beneath the tree.
First-year maintenance calendar
Fall
- Plant shrubs, perennials, and sedge plugs.
- Mulch and begin establishment watering.
- Remove weeds before they set seed.
Winter
- Water during extended dry periods when soil is not frozen.
- Check mulch depth and keep it away from trunks.
- Delay major pruning until plant needs are clear.
Spring
- Fill genuine gaps after observing which plants returned.
- Cut back winter-damaged Turk’s cap and other dormant perennials.
- Inspect irrigation before hot weather.
Summer
- Water slowly and deeply during prolonged drought.
- Accept some dormancy instead of forcing constant lush growth.
- Postpone unnecessary transplanting and fertilizing.
Common low-water garden mistakes
- Planting every inch. Open mulch is useful, especially close to trunks.
- Using one irrigation schedule everywhere. Containers, new plants, and established natives have different needs.
- Choosing only evergreen plants. Seasonal dormancy adds change and is often part of drought survival.
- Over-amending the soil. Plants adapted to local conditions are more durable than plants dependent on a manufactured bed.
- Expecting a finished garden immediately. A low-water planting often needs two or three growing seasons to knit together.
Final thoughts
A low-water shade garden in Texas is not a collection of plants that never need irrigation. It is a system: protected tree roots, carefully mapped light, plants grouped by water need, deep establishment watering, and a realistic acceptance of seasonal change.
Start with one area, use a limited palette, and adjust after watching it through a summer. The result can be cooler, richer in wildlife, and far less demanding than struggling turf. For locally tested plant choices and water-wise guidance, consult the City of Austin Grow Green Plant Guide.