A gravel garden path is one of the simplest ways to create a durable, permeable route through a yard. It costs less than most paved surfaces, works with formal and informal gardens, and can often be installed with ordinary hand tools. The result depends less on the decorative stone than on what lies beneath it: a stable subgrade, a compacted base, dependable edging, and a surface aggregate that suits the way the path will be used.
This guide explains the difference between gravel and crushed stone, how deep the layers should be, and how to build a path that does not quickly become muddy or spread into nearby beds.
Gravel, crushed stone, and pea gravel
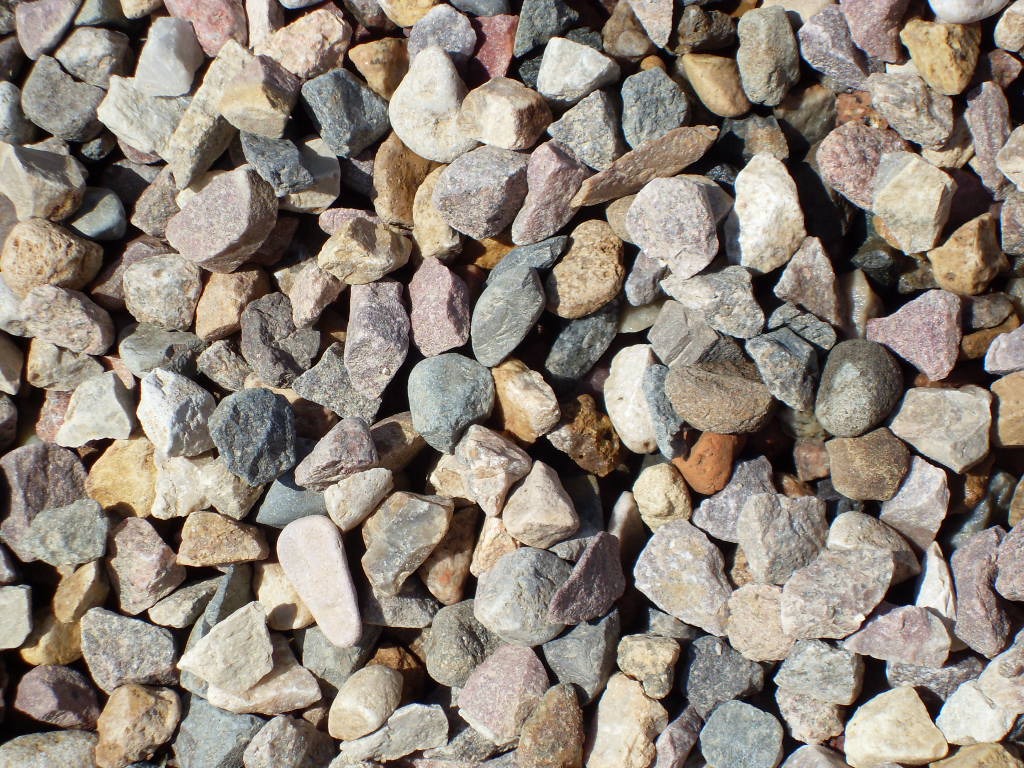
These names are often used loosely, but the shape of the aggregate matters. Crushed stone has angular faces that lock together when compacted. It is therefore the better choice for a firm base and for a walking surface that must resist movement. Natural gravel has more rounded particles and a softer appearance, but it shifts more easily underfoot.

Pea gravel is smooth, small, and comfortable in casual gardens, but it rolls under shoes, bicycle tires, wheelbarrows, and mobility aids. It performs best in a shallow surface layer held by solid edging. For a more stable path, choose a compactable mix containing several particle sizes rather than uniformly rounded stones.

Plan the route, width, and drainage
Walk the intended route before marking it. A main path should follow the way people naturally move between the house, gate, patio, shed, and garden. Gentle curves look relaxed, but unnecessary bends encourage shortcuts across the lawn. A secondary footpath can be about 30 to 36 inches (75–90 cm) wide; a comfortable two-person path is usually 42 to 48 inches (105–120 cm) wide.
Keep the finished surface slightly above adjacent soil and give it a subtle cross slope or crown so rainwater can leave the path. Do not create a gravel-filled trough that collects runoff. On wet or unstable ground, correct the drainage problem before adding more stone. A path across a steep slope may need steps, retaining edges, or professional grading.
Choose the aggregate
- Crushed stone: angular, compactable, and practical for the structural base.
- Decomposed granite or fines: produces a relatively firm surface when properly compacted, although availability varies by region.
- Pea gravel: attractive and comfortable for light foot traffic, but mobile and difficult for wheels.
- Washed gravel: clean and decorative, yet less stable because it contains few fines.
- River rock: usually too large and rounded for a comfortable everyday walkway; it is better as an accent or drainage material.
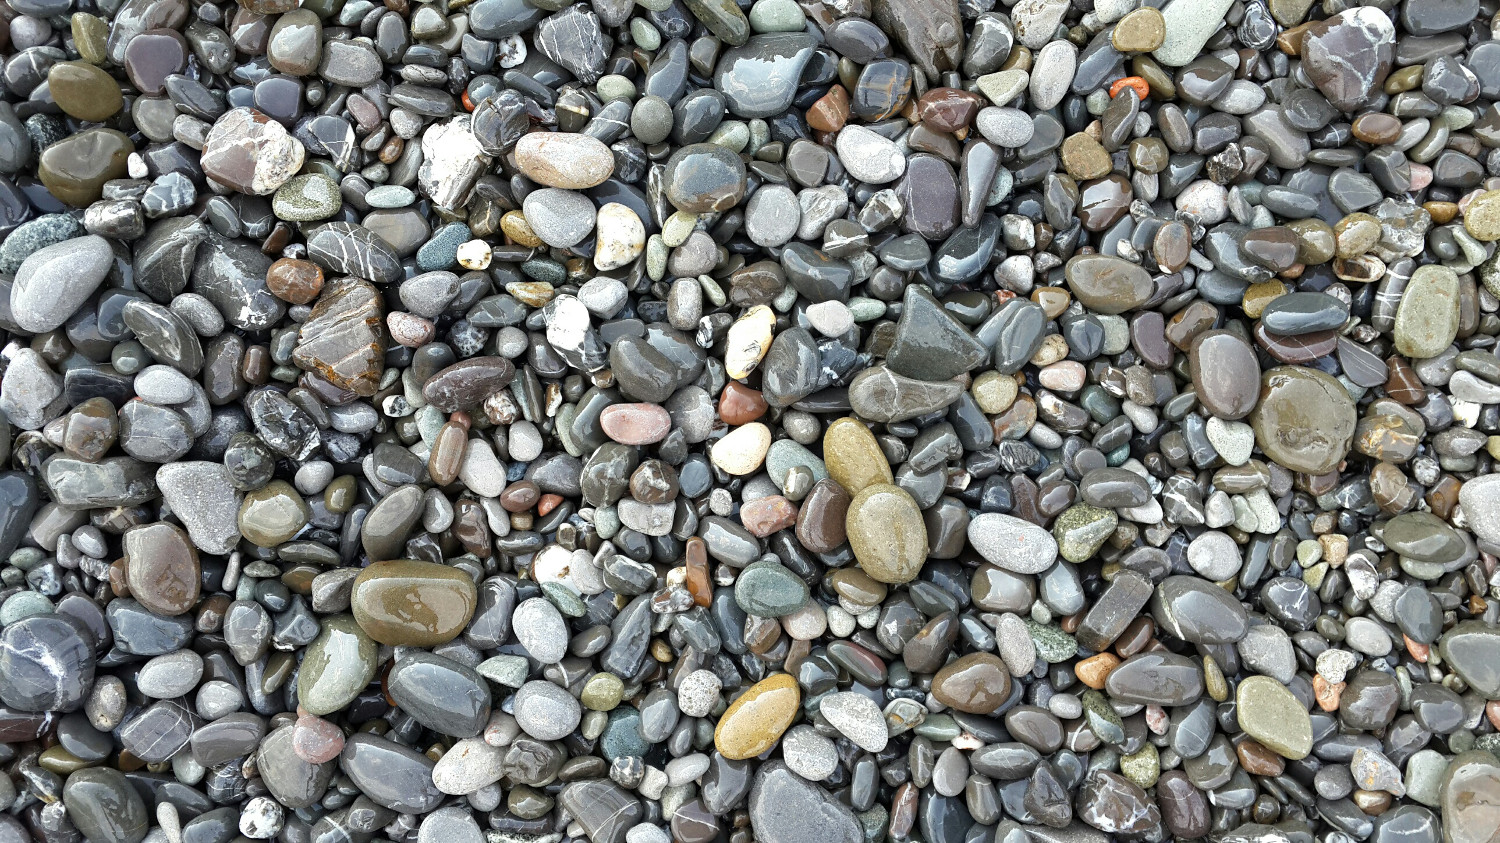
Color should complement the house, local stone, and surrounding planting. Before ordering several tons, view a dry and wet sample outdoors. Stone often becomes much darker after rain.
Tools and materials
For a typical residential footpath you will need marking paint or a garden hose, stakes and string, a spade, rake, wheelbarrow, hand tamper or plate compactor, edging, compactable base aggregate, and surface gravel. A permeable separation geotextile can be useful where soft soil would otherwise mix with the stone. It is not a substitute for excavation, drainage, or a compacted base.
Call the local utility-marking service before digging. Wear eye protection, sturdy gloves, and hearing protection when cutting edging or using powered compaction equipment. Stone is heavy, so plan delivery close to the work area and divide the job into manageable sections.
How to build a gravel garden path
- Mark the edges. Lay out both sides of the path and check the width at curves, gates, and intersections.
- Remove vegetation and topsoil. Excavate to a consistent depth. For a light-duty garden path, the combined base and finish layers commonly total about 4 to 6 inches (10–15 cm), but soft soils, freeze-thaw conditions, or heavier loads may require more.
- Shape and compact the subgrade. Remove roots and soft pockets. Establish the drainage slope now.
- Add geotextile if conditions justify it. Place a permeable product rated for separation, overlap seams according to its instructions, and cover it promptly. Read our guide to using geotextile under garden paths.
- Install edging. Metal, plastic, stone, brick, or treated landscape edging can work. Anchor it firmly and set its top just above the finished gravel.
- Place the base in lifts. Spread compactable crushed stone in thin layers, lightly moisten if appropriate for the material, and compact each layer before adding the next.
- Add the finish aggregate. A surface layer around 1 to 2 inches (2.5–5 cm) is usually enough. Too much loose gravel makes walking difficult.
- Rake and test. Walk the entire route, correct low spots, and confirm that water can drain away.
Gravel path edging
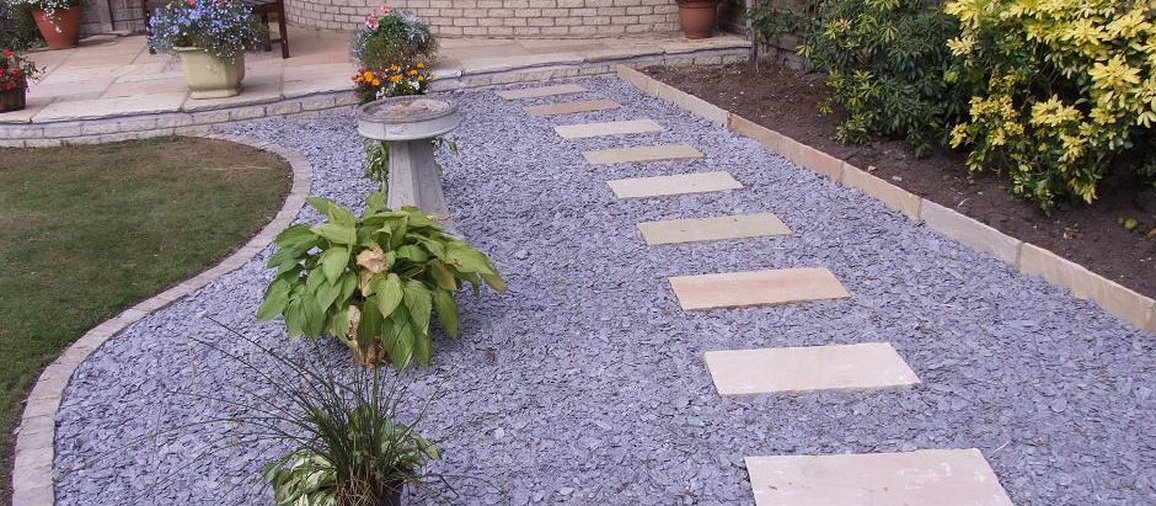
Edging is not merely decorative. It keeps loose aggregate on the path, protects adjoining lawn from stones that could be thrown by a mower, and preserves clean curves. Flexible steel or aluminum produces thin, crisp lines. Plastic is economical but must be anchored carefully. Brick, stone, or concrete creates a stronger visual border and can help retain a path built slightly above grade.
Maintenance and weed control
Expect occasional raking and replenishment. Leaves and soil that accumulate on top of the gravel eventually create a seedbed, so remove organic debris with a leaf blower on a low setting or a spring-tine rake. Pull isolated weeds while they are young. A geotextile layer can reduce mixing from below, but it cannot stop seeds from germinating in debris above the fabric.
After heavy rain, look for channels, puddles, and migrated gravel. Repair the drainage cause rather than simply filling the depression. In snowy climates, mark the edges and leave a thin layer of snow when shoveling so the tool does not remove the surface stone.

Is gravel or crushed stone better?
Choose angular crushed stone when stability is the priority. Choose rounded decorative gravel when appearance and a softer texture matter more and the path carries only light foot traffic. Many successful paths combine both: a compacted crushed-stone base for strength and a thin decorative surface selected for color and comfort.
For more options, compare our forthcoming guides to an inlaid pebble path, a rustic wood-slice path, and other affordable garden path ideas.