A garden pond with a waterfall combines two of the most appealing landscape features: a still, reflective pool and the sound of moving water. The project can be built on a natural slope or on level ground with a carefully shaped mound. In either case, the water circulates from the pond or hidden reservoir to the top of the cascade and then returns by gravity.
The finished feature may look spontaneous, but reliable pond waterfalls are planned as complete systems. The basin must hold enough water, the liner must remain protected, the pump must deliver the required flow at the actual lift, and every edge must direct water back into the system. This guide explains the decisions and construction sequence before you begin digging.
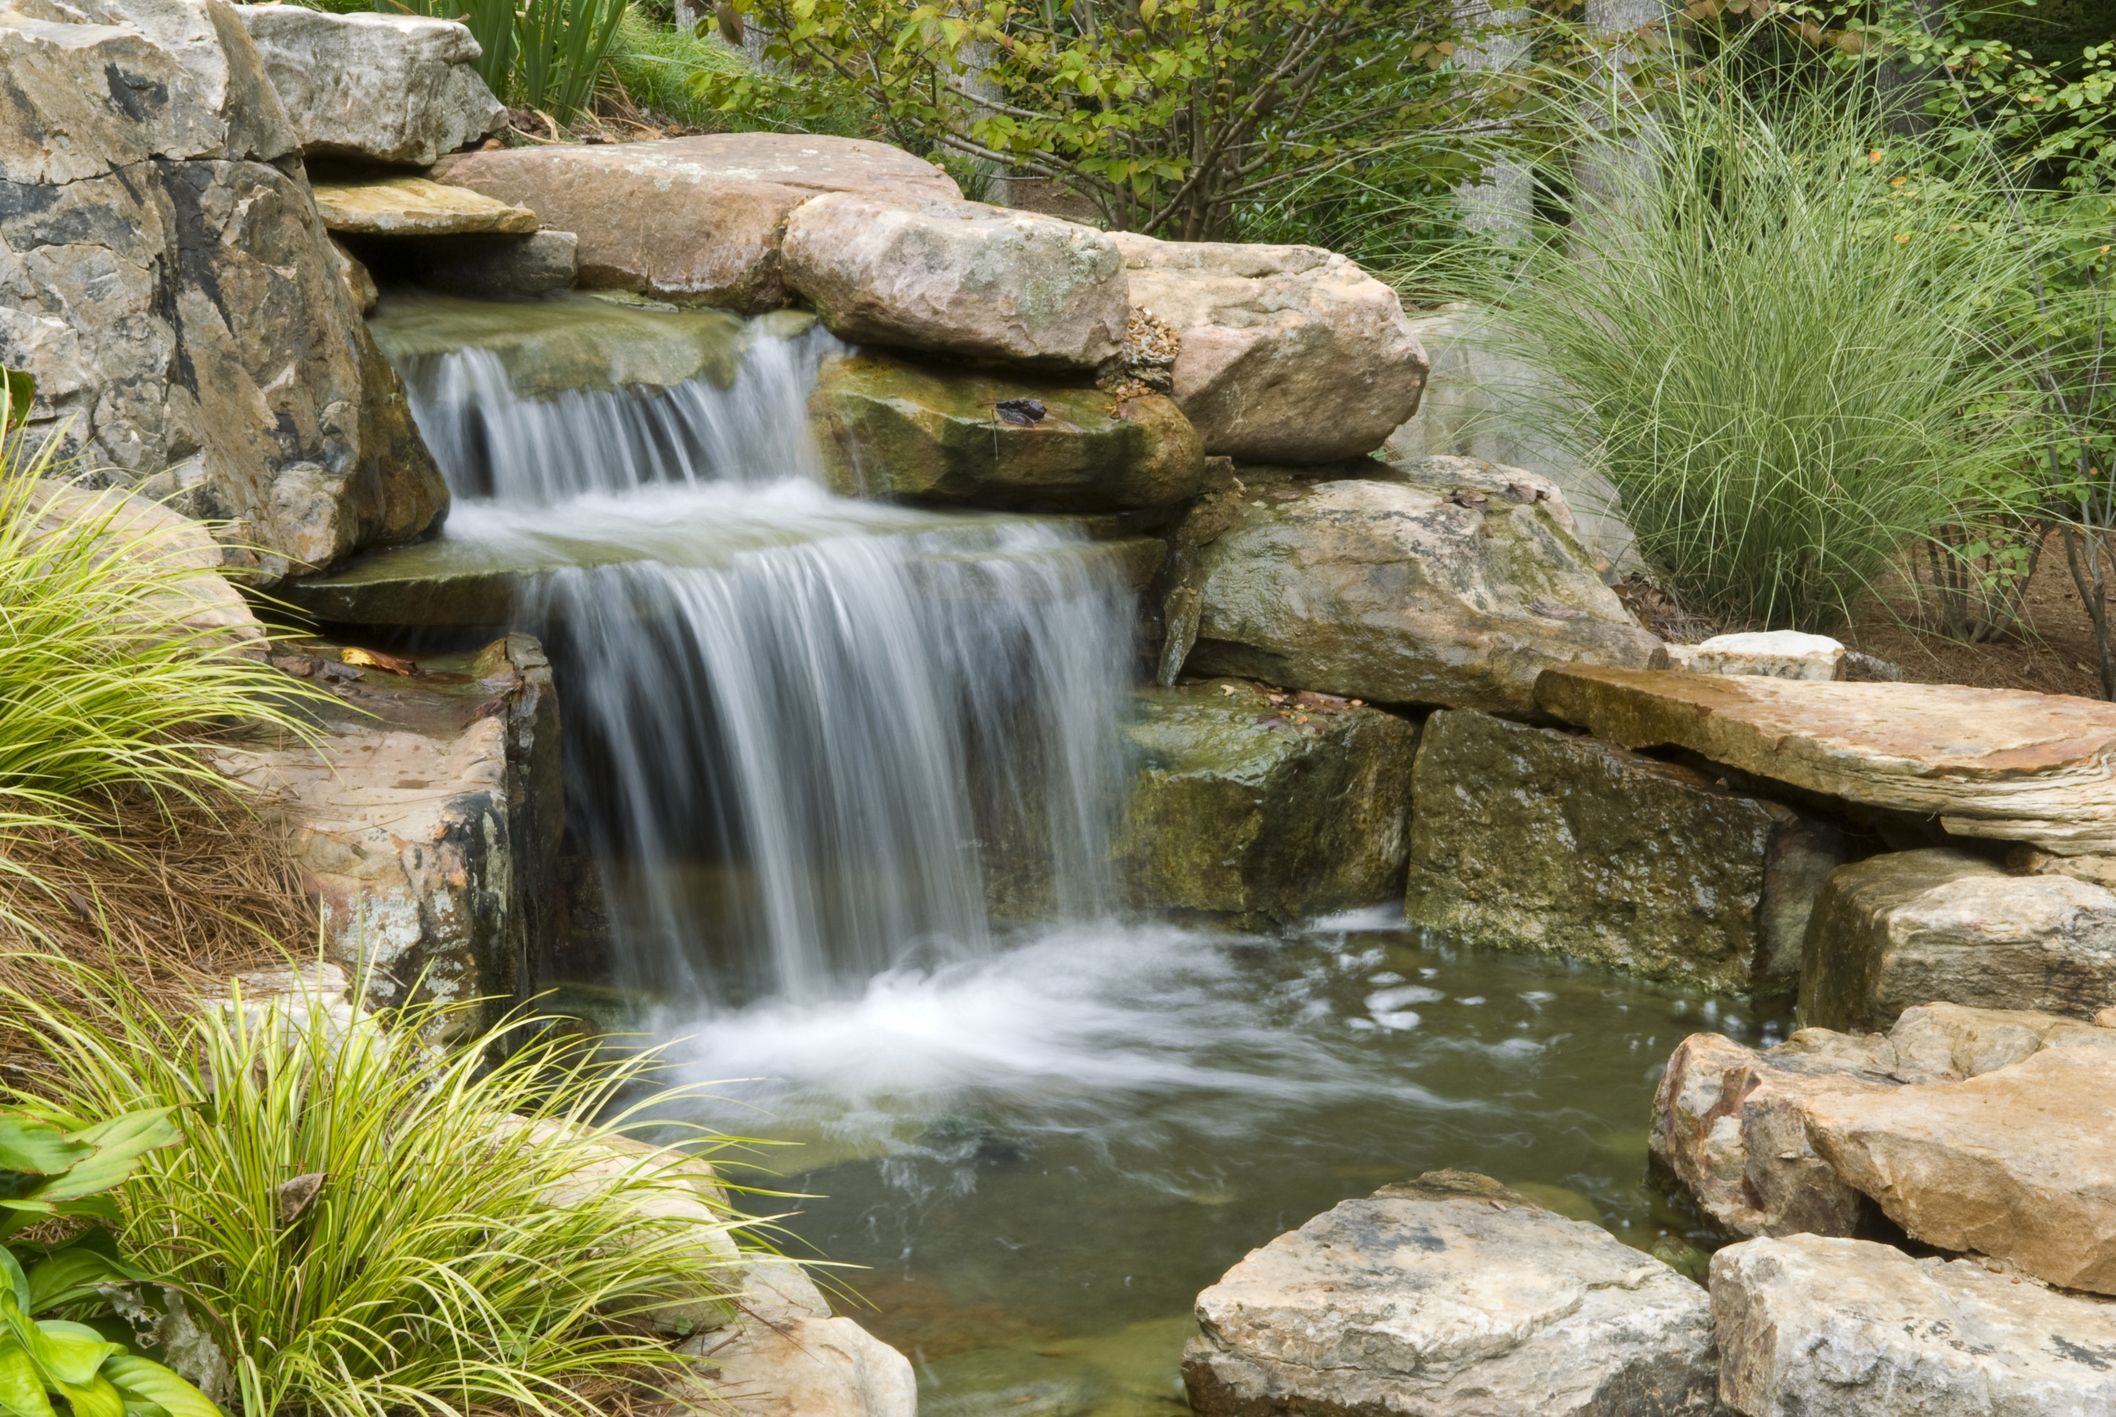
Choose Between a Pond and a Pondless Waterfall
A traditional pond waterfall ends in an open pool. It offers reflections, space for aquatic plants and, if designed appropriately, a possible home for fish. It also introduces open-water safety, water-quality and seasonal-care responsibilities.
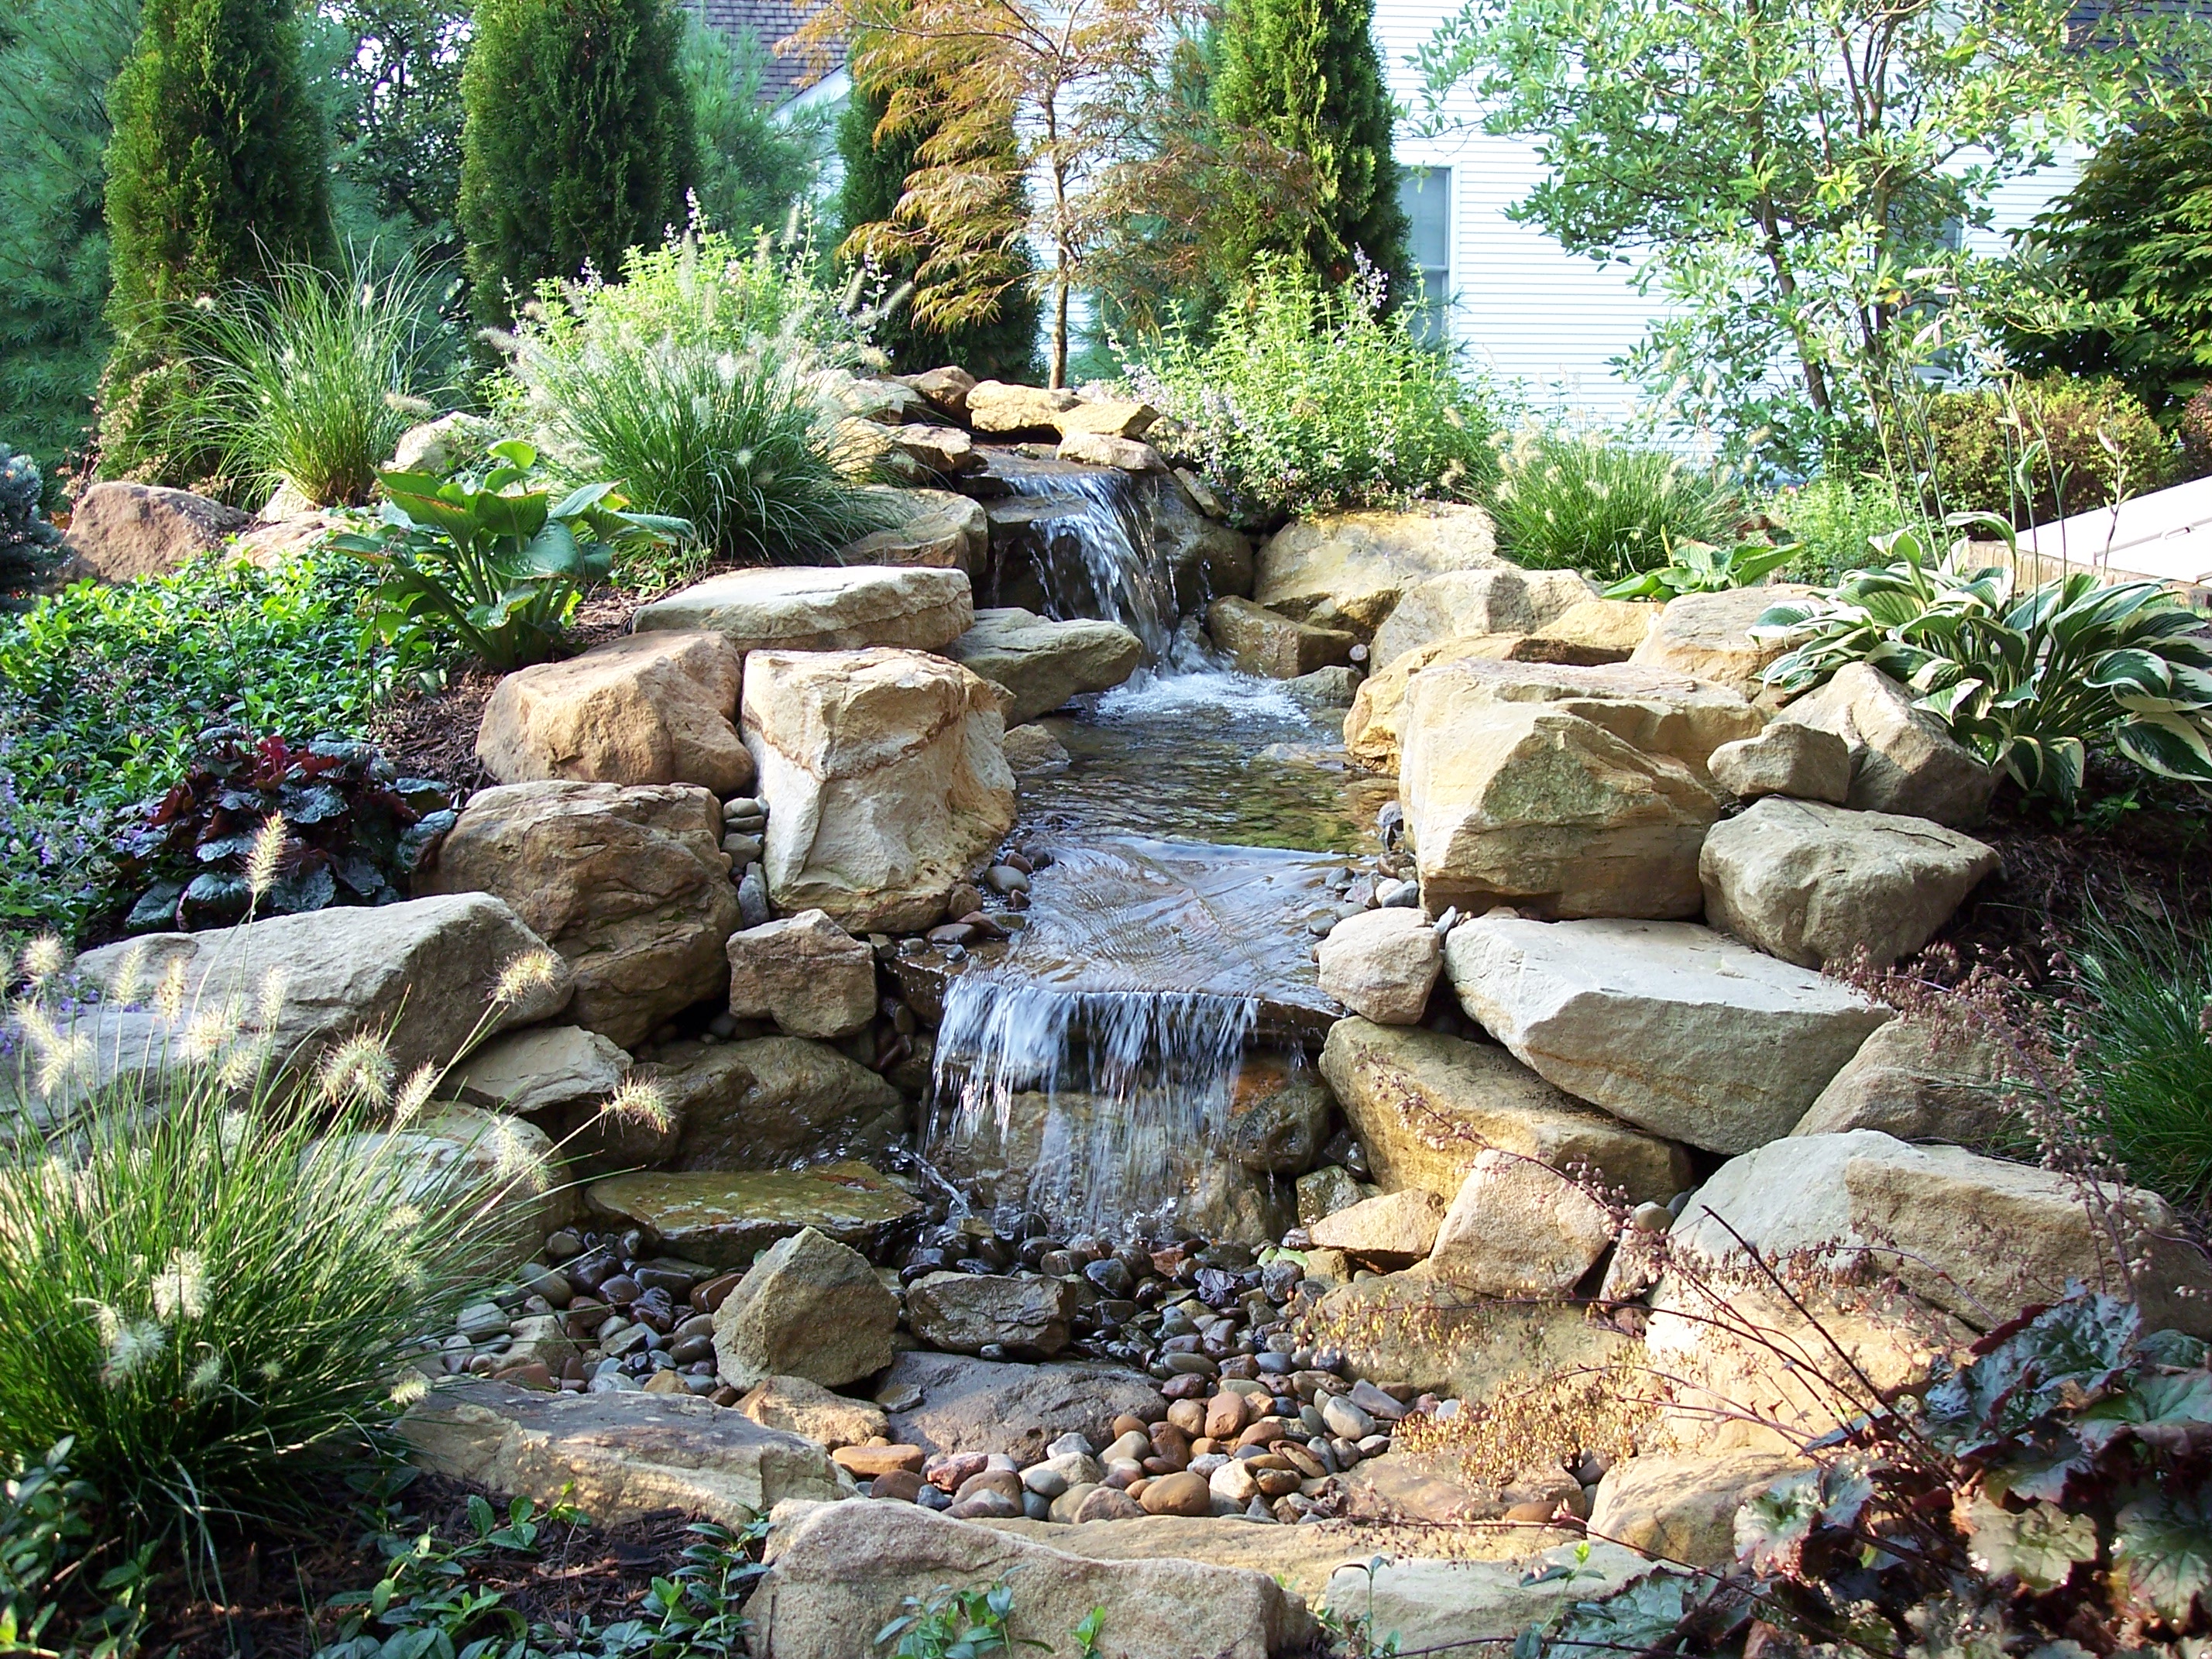
A pondless waterfall ends over a stone-covered grate. Water passes into a hidden reservoir and is pumped back to the top. This format suits smaller spaces and households that want moving water without a visible pool. It is not maintenance-free: the reservoir still needs sufficient capacity, safe access to the pump and protection from leaves and sediment.
Decide at the outset whether the feature is primarily decorative, intended for wildlife, or expected to support fish. Those goals affect depth, circulation, filtration, planting and winter management. Avoid adding fish as an afterthought; research the needs of the species and local climate before finalizing the pond design.
Select the Site Before Designing the Shape
The best site can be enjoyed from the house as well as from the garden. It should provide room to work around the pond and access the pump, filter and plumbing. Avoid low points that collect lawn fertilizer, soil or storm runoff. Heavy leaf fall creates constant cleaning, while an exposed windy location increases evaporation and can blow water outside the liner.
A natural slope is useful, but it must be stable. Water should never be allowed to erode the supporting soil or drain toward a building. On a level property, the excavated soil can help form a broad waterfall mound. Build it in compacted layers rather than leaving a loose pile that will settle after the stones are installed.
Before digging, locate underground utilities and check local requirements for excavation, electrical work, drainage, barriers and open water. Keep the project away from foundations, septic systems and large tree roots. If the soil, slope or proposed stonework presents an engineering concern, obtain professional advice.
Plan the Pond Size, Shelves and Water Level
Mark the proposed outline with a hose or rope and view it from several directions. Organic shapes usually look better with a few confident curves than with many small wiggles. The pond should be large enough to balance the waterfall; a tall or broad cascade can overwhelm a tiny pool and may splash out faster than the basin can recover.
Establish the finished water level before excavation. This single reference controls the height of the liner edge and prevents one low spot from becoming a leak. A builder’s level, laser level or water level is more reliable than judging by eye.
Planting shelves can hold baskets of marginal plants and create transitions between shallow and deeper water. Depth must be chosen for the intended plants, animals and climate—not from one universal number. Fish survival through winter depends on species, pond volume, oxygen, ice cover and regional conditions as well as depth. Local aquatic specialists or extension guidance can help with a fish pond plan.
Safety matters at every depth. Decorative ponds and fountains can present a drowning hazard, especially to young children. Use layers of protection appropriate to the property and local rules, prevent unsupervised access, and do not assume that a shallow basin is harmless.
Compare Liner, Preformed Basin and Concrete
Flexible pond liner is the most adaptable option for a natural-looking DIY pond. A pond-rated liner, installed over compatible underlayment, can follow shelves and curves. Size it from the maximum length, width and depth, then add generous overlap; use the supplier’s calculation method and avoid joining small pieces unless the seam system is designed for permanent immersion.
Preformed basins work well for compact ponds. They provide a defined shape and depth, but the excavation must support the shell evenly. Unsupported voids or an unlevel rim can allow movement and distortion. Follow the manufacturer’s instructions for bedding and backfilling while the basin is filled.
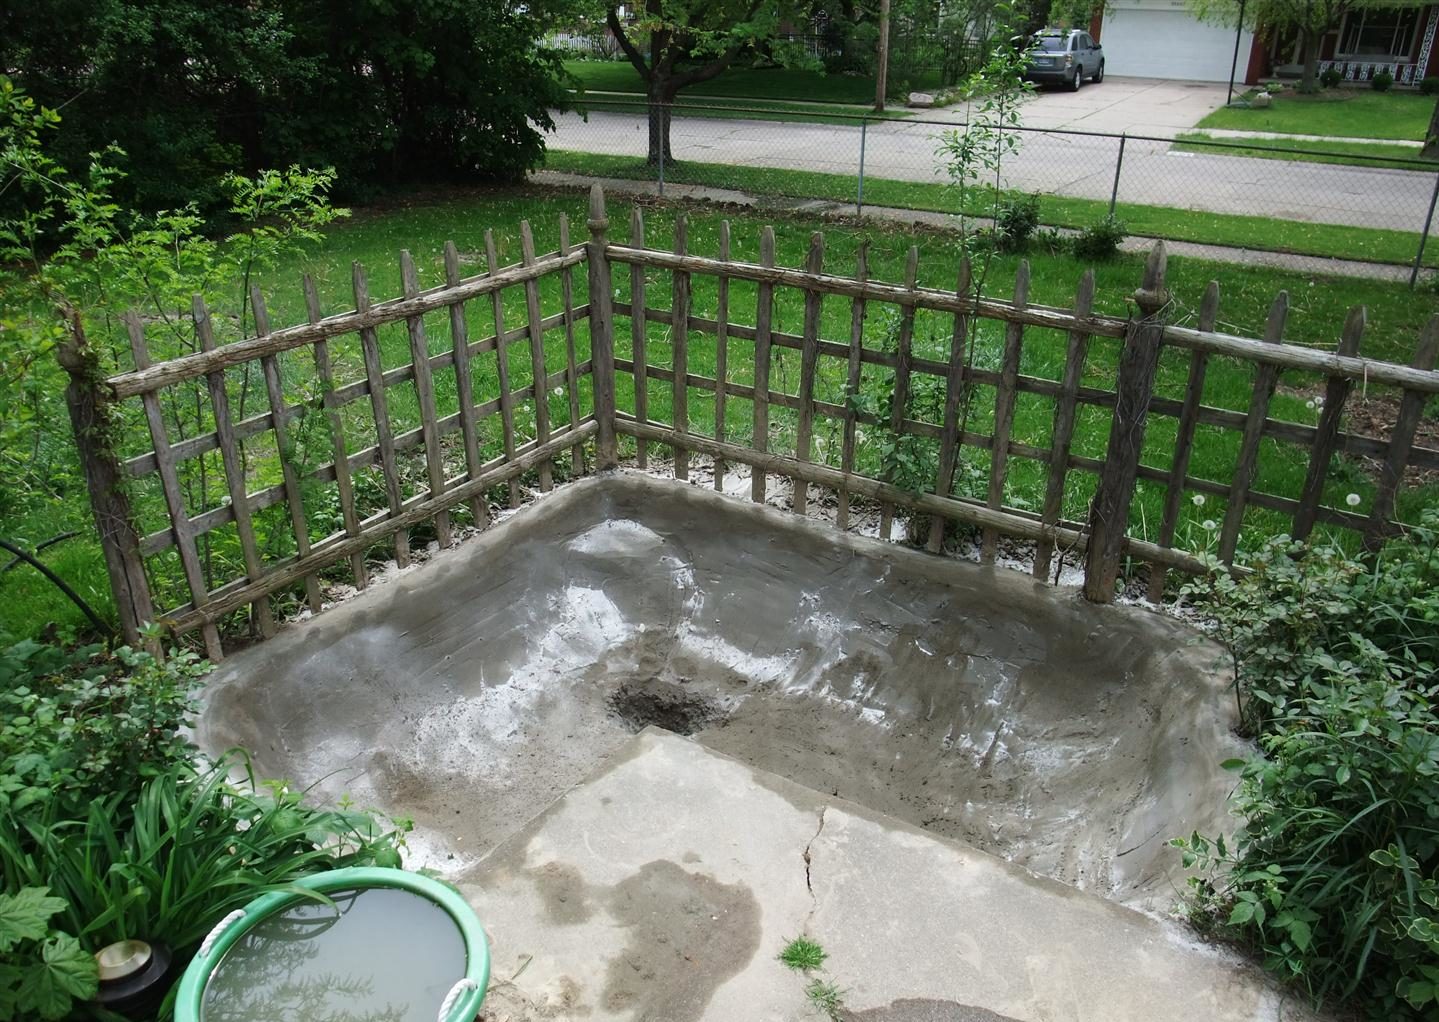
Concrete can create formal geometry and support substantial finishes, but it is not simply a thicker alternative to liner. Reinforcement, movement, waterproofing, penetrations and soil conditions must all be designed correctly. For a large or structural concrete pond, professional construction is usually the prudent choice.
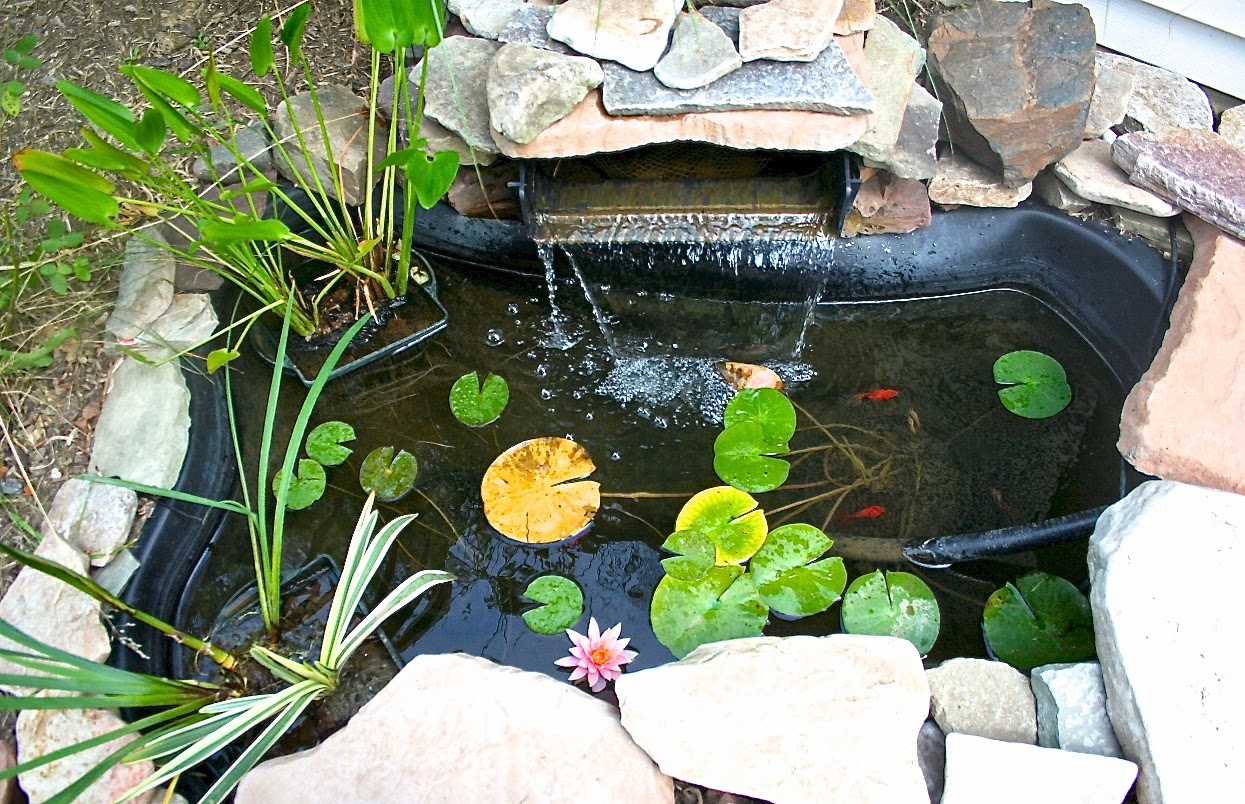
Excavate and Protect the Pond Liner
Remove turf and excavate in stages, checking the outline and level as you work. Create shelves with firm, horizontal surfaces and avoid narrow ledges that will collapse under stone. The sides should suit the soil type and the construction system; unstable or saturated ground may require a different design.
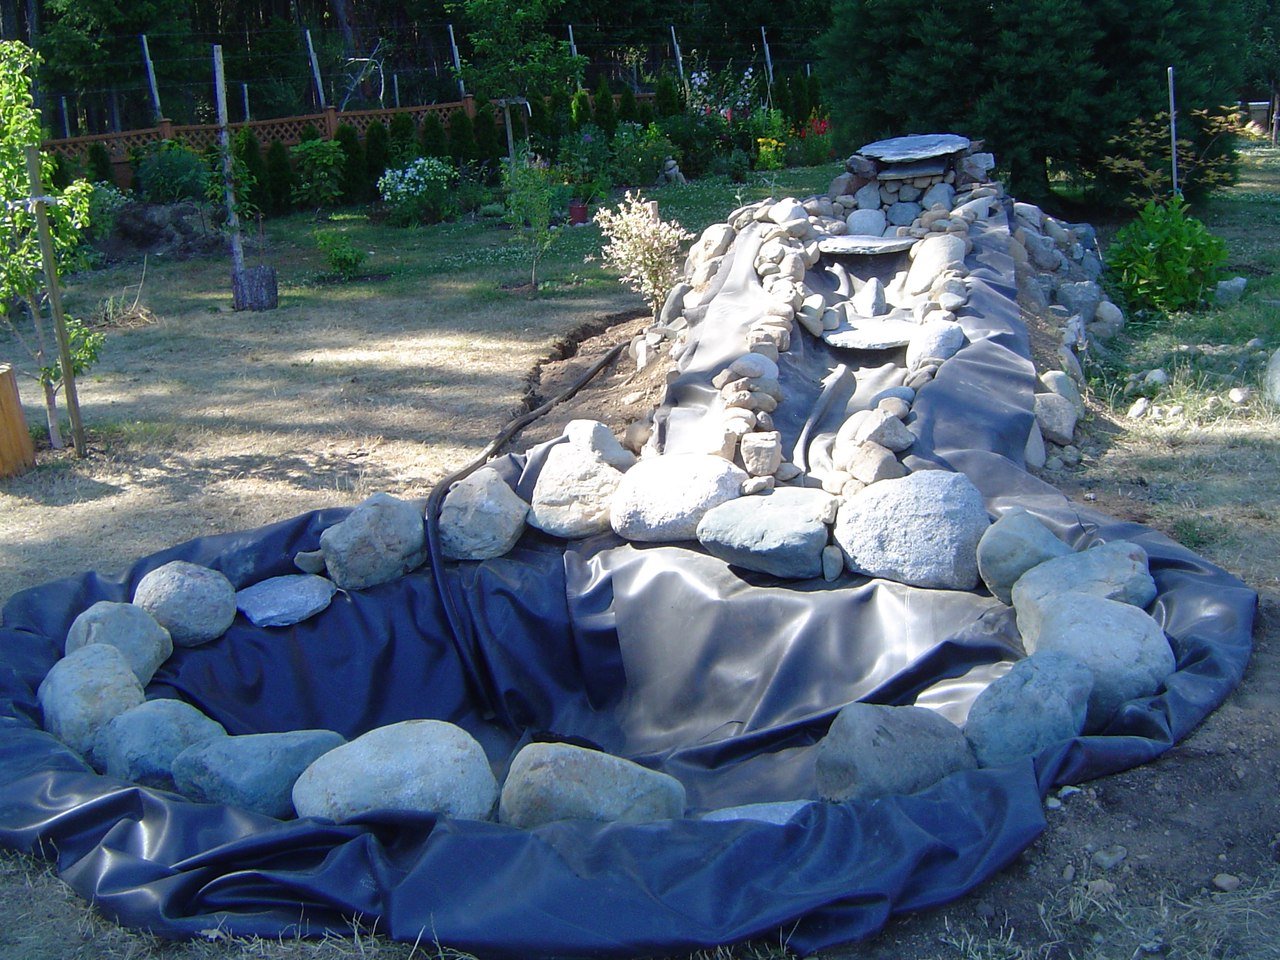
Remove sharp stones, roots and construction debris. Smooth and compact the subgrade, then install the specified underlayment. Old carpet and random fabrics are poor substitutes because staples, fasteners and incompatible materials can damage the liner. Unfold the pond liner with clean footwear, allowing relaxed folds rather than pulling it tight across corners.
Do not trim the overlap yet. Add water gradually, adjust folds and confirm the level around the entire edge. Finish the perimeter only after the liner has settled. Capillary action through soil, mulch or fabric can quietly draw water out of a pond, so keep the finished edge high and detail it according to the liner system.
Shape the Waterfall and Control the Flow
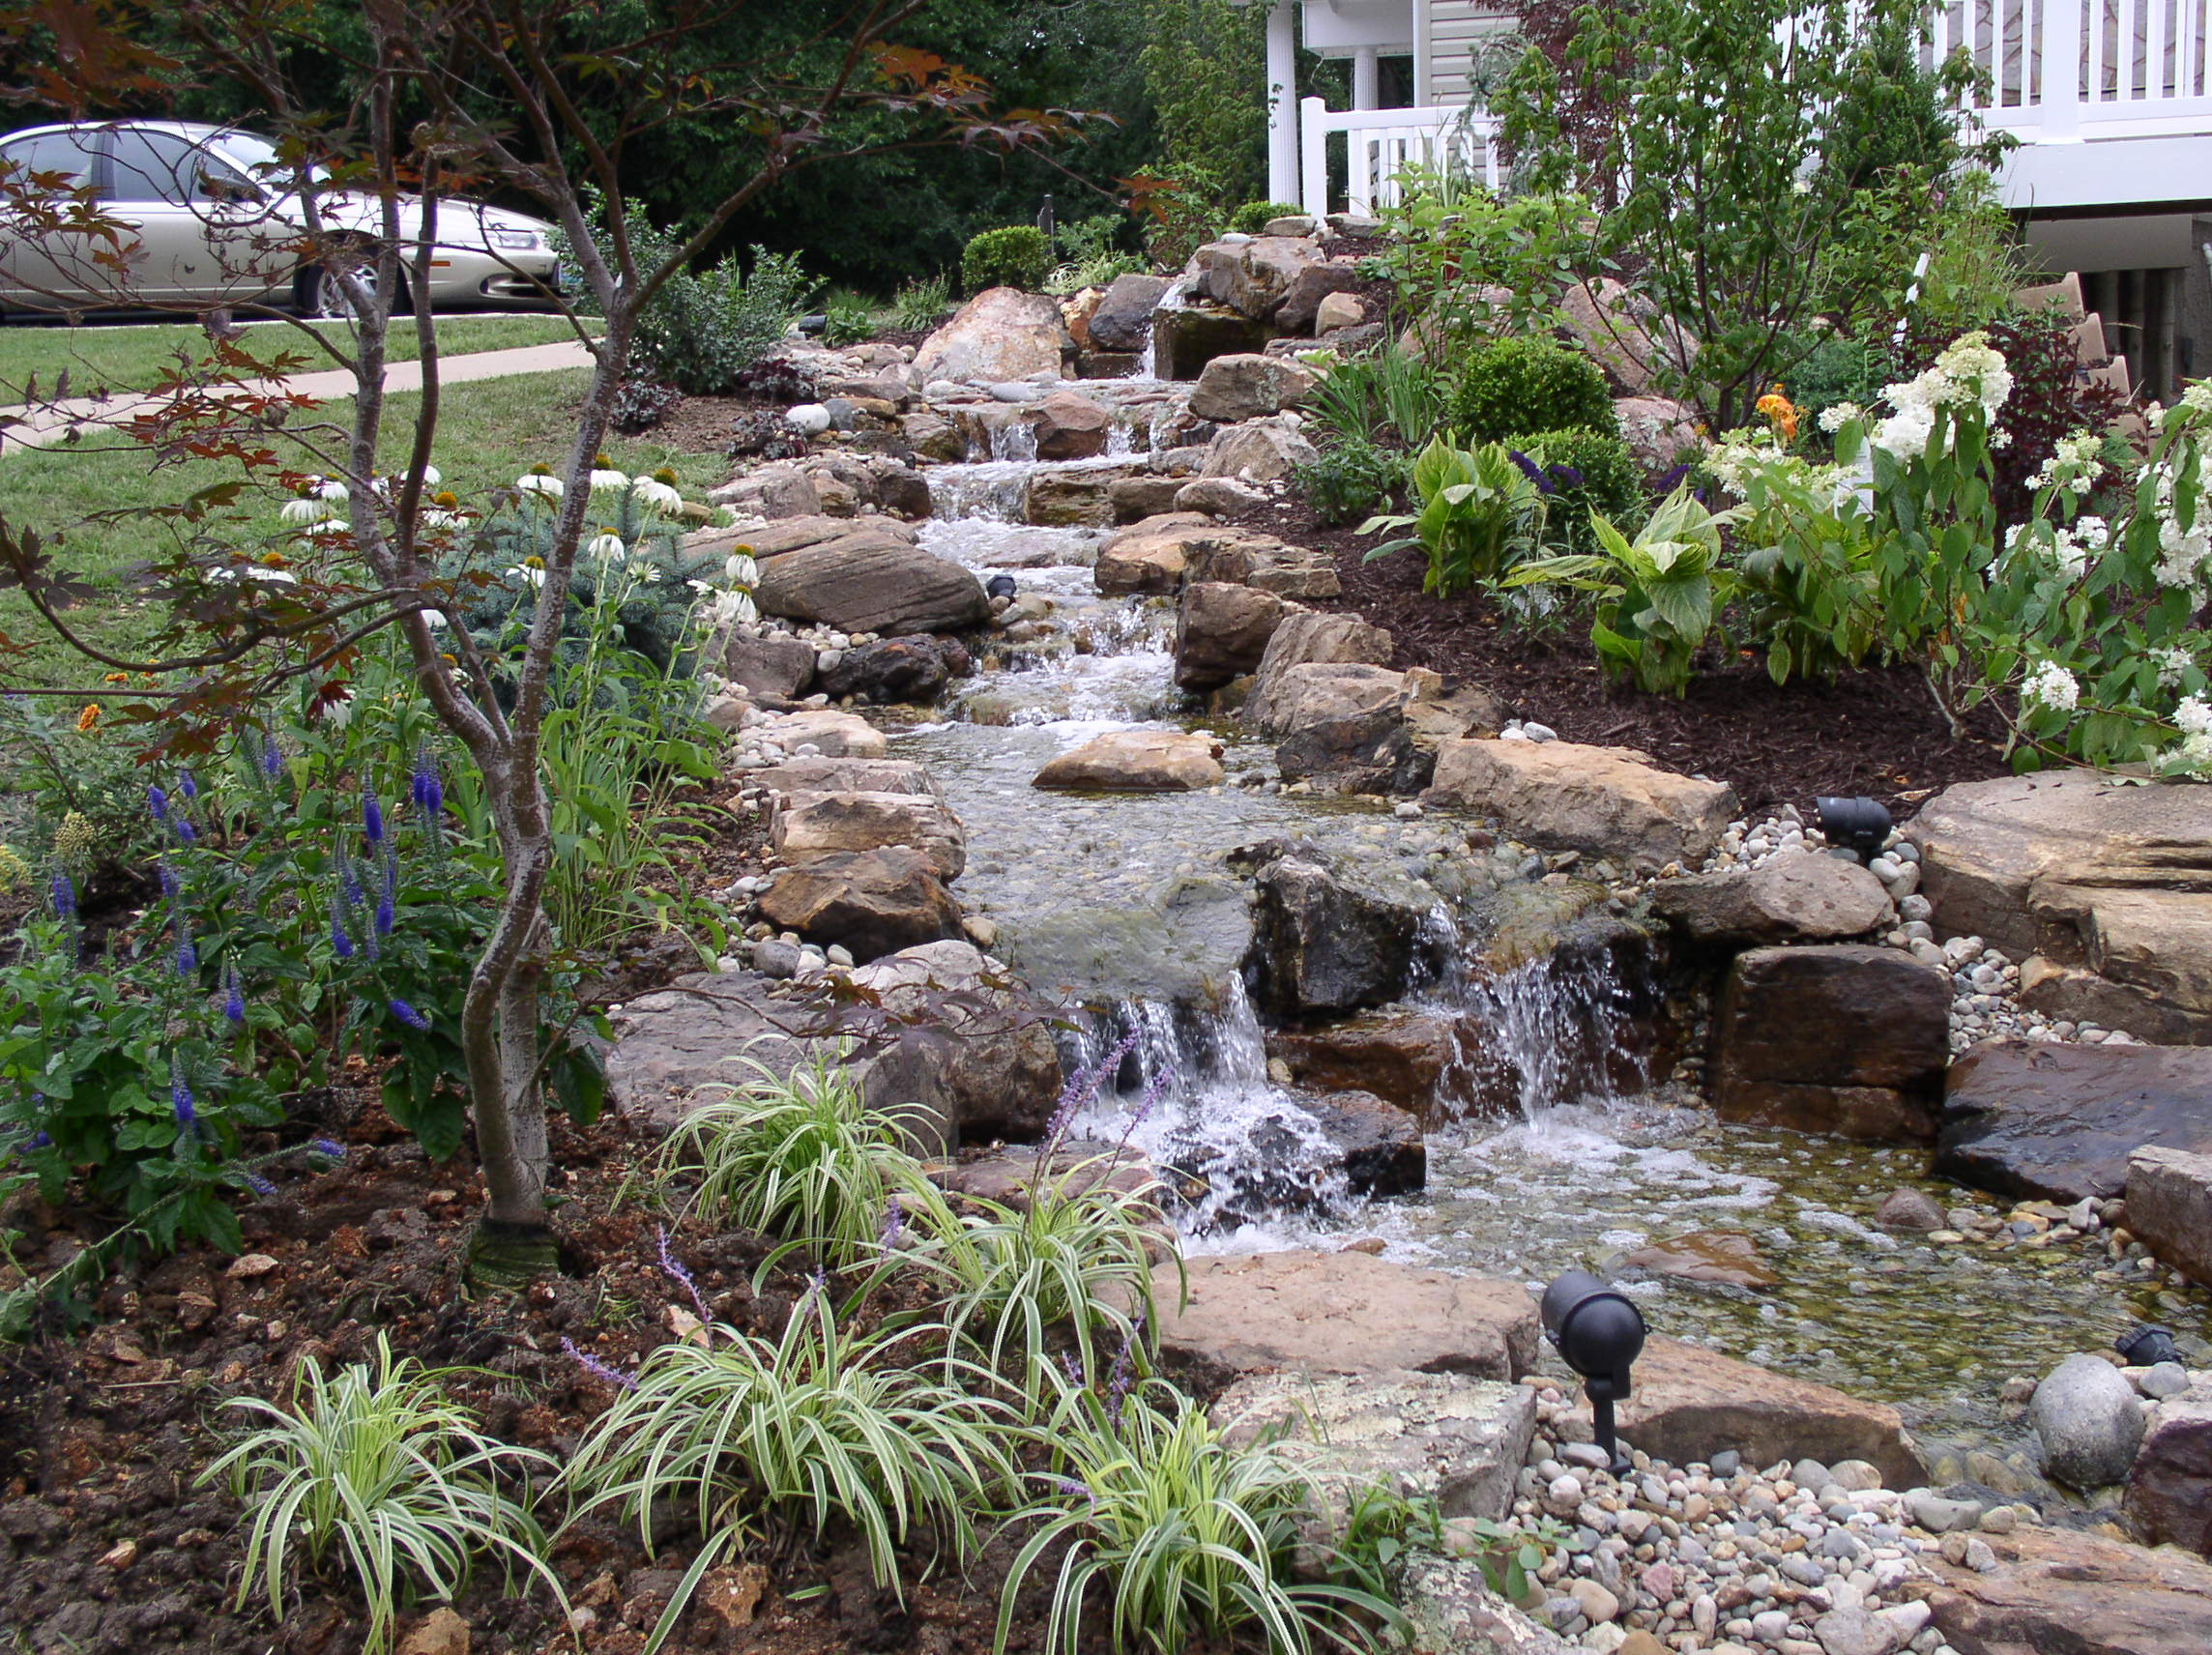
A convincing waterfall usually changes direction and height rather than dropping down a perfectly straight staircase. Broad, flat spill stones create sheets of water; irregular gaps divide the flow into separate streams. A small pool between drops slows the water and adds sound. Build the cascade wide enough that the liner rises along both sides above the maximum water level.
The waterfall liner should overlap the pond liner so gravity carries every leak toward the basin. Hidden folds behind stones still need an uninterrupted route back to the pond. Test each level with a hose before placing the final rocks: it is much easier to correct a low edge while the stones are accessible.
Large rocks must rest on stable, compacted support—not on loose soil or unsupported liner shelves. Keep heavy equipment and sharp stone edges from pinching the liner. Use stone and gravel to disguise the construction, but do not bury the pump access or create pockets that trap large amounts of decomposing debris.
How to Size the Waterfall Pump
Do not choose a pump by wattage alone. A waterfall pump must deliver the desired flow rate at the system’s total dynamic head. Vertical head is measured from the operating water level in the pond or reservoir to the highest discharge point. Friction in the hose, fittings, valves and filter adds more head and reduces the final flow.
First decide how the waterfall should look and determine the required flow for the width of the spillway. Then measure the vertical lift, estimate plumbing losses and compare the total with the manufacturer’s pump curve. Use the specified hose diameter; undersized tubing can waste much of the pump’s capacity through friction.
Select a pump intended for continuous pond or waterfall service and for the solids it may encounter. Keep it accessible in a pump vault, skimmer or protected area. A prefilter or intake screen can reduce debris, but it must provide enough open area to avoid starving the pump. Include a practical way to isolate or remove the unit for cleaning and winter storage.
Test the complete circulation system before permanently setting the cascade stones. Run it at the intended water level, inspect every edge, then switch it off and observe how much water drains back into the basin. The pond or reservoir must accept that return volume without overflowing.

Build a Pondless Reservoir Correctly
A pondless system needs more than a hole covered with mesh. The underground reservoir must support the weight of people, stone and landscaping above it while maintaining enough open volume for water. Purpose-made structural vaults or matrix blocks are commonly used with a compatible liner and load-bearing grate.
Calculate usable water volume after accounting for everything placed inside the reservoir. It must hold the operating water, the volume that drains from the stream when the pump stops, and a reserve for evaporation. Provide a visible or easily checked water level and a safe method for topping up.
Electrical Safety and First Startup
Water and electricity require purpose-designed equipment. Use outdoor or submersible pumps, lights, cables, transformers and connectors only as their manufacturers specify. Ground-fault protection is essential, and local codes may set distances and installation requirements for receptacles and disconnects. Have a qualified electrician provide any new circuit or permanent wiring.
Keep connections out of standing water, protect cables from damage and disconnect power before putting your hands in the pond or servicing the pump. Never carry or lift a pump by its power cord. If lights are included, use a complete pond-rated system rather than adapting indoor fixtures.
For the first startup, fill the basin, open any valves and confirm that the pump is submerged or primed as required. Start at a reduced flow if possible. Watch the entire circuit for several minutes, checking splash, liner edges, hose connections and the water level. Small losses become significant when a waterfall runs for hours.
Finishing, Planting and Maintenance
Arrange plants to connect the water feature with the surrounding garden while leaving service routes open. Moisture-loving plants may suit the margins, but their preferred water depth and climate requirements vary. Our guide to pond plant zones explains submerged, floating, marginal and bog planting.
Remove leaves and string algae before they block the intake. Clean the prefilter and pump according to the manual, top up for evaporation, and investigate any unusually rapid water loss. Keep fertilizer-rich runoff and loose soil out of the pond. If still water remains when the pump is off, manage it so it does not become mosquito habitat.
Winter pond care depends on climate, pond construction, fish, plants and equipment. Drain plumbing that could trap freezing water, and remove any pump or fitting that the manufacturer does not approve for winter conditions. Never assume that a deep pond alone guarantees safe overwintering for fish.
If an open pond is more than the site can safely or comfortably support, consider a compact pondless waterfall or a recirculating garden fountain. Whichever format you choose, careful levels, generous liner edges, accessible equipment and a correctly sized pump are the details that keep moving water inside the feature rather than in the surrounding soil.