Daylilies (Hemerocallis) are among the most reliable flowering perennials I grow. Each individual bloom lasts only a day, but a mature clump sends up many buds in succession. With early, midseason, late and reblooming cultivars, a garden can have daylily flowers for much of the summer.
They are adaptable rather than indestructible. The fullest display comes from thoughtful planting, deep watering during dry spells and occasional division when the clump becomes congested.
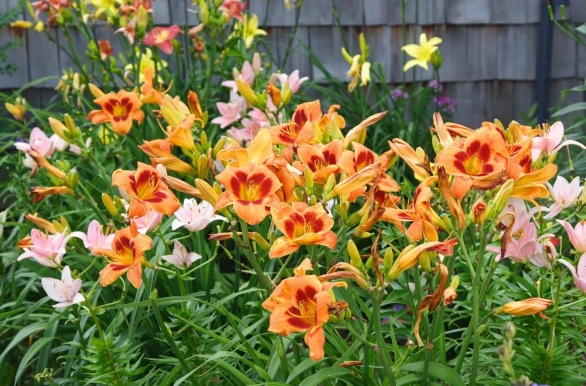
Daylilies are not true lilies
Despite the common name, daylilies belong to the genus Hemerocallis, not Lilium. Their straplike leaves rise from a crown, while thick, fleshy roots store water and nutrients. Flowering stems, called scapes, stand above the foliage and carry a sequence of buds.
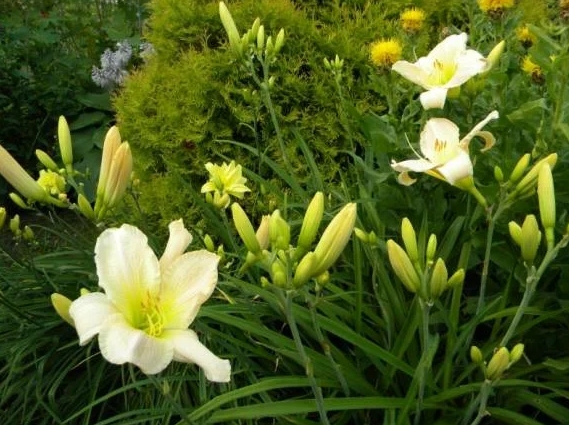
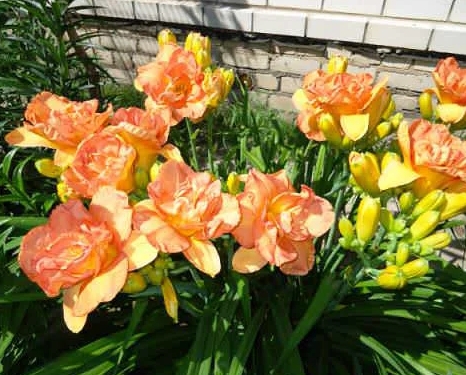
Modern cultivars range from compact edging plants to tall background specimens. Flowers may be single, double, spider-shaped or ruffled in almost every color except a true blue. Check the mature height and bloom season before buying rather than choosing by flower photograph alone.
Where to plant daylilies
Give them at least six hours of direct sun for abundant bloom. In very hot climates, morning sun and light afternoon shade can preserve the color of dark flowers. Plants will survive in deeper shade, but they usually make more leaves and fewer flowers.
Average, well-drained garden soil is suitable. Daylilies tolerate clay better than many perennials, but water should not stand over the crown. Improve very poor soil with compost before planting. A neutral to slightly acidic soil works well; test the ground before adding lime, sulfur or wood ash rather than guessing at its pH.
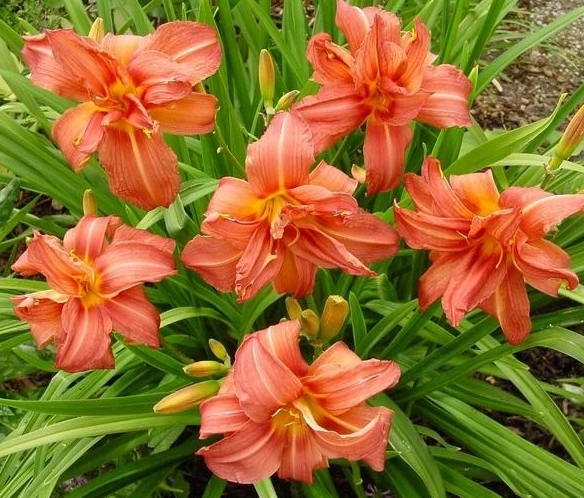
How to plant a daylily
- Soak a bare-root plant briefly if its roots feel dry. Water a container plant before removing the pot.
- Dig a hole wider than the root system and make a low mound in the center.
- Spread the roots over the mound. Position the crown—the point where roots meet leaves—close to soil level and no more than about one inch (2.5 cm) below it.
- Backfill, firm gently and water deeply to settle the soil.
- Space plants according to their mature width, commonly 18 to 24 inches (45–60 cm) apart.
Spring and early fall are convenient planting times. In cold regions, finish fall planting several weeks before the ground freezes so roots can establish.
Watering and mulch
Daylilies survive drought because of their fleshy roots, but survival is not the same as good flowering. Deep watering during bud development and bloom produces stronger scapes and better-sized flowers. Aim water at the soil and let the surface dry slightly between waterings.
Mulch suppresses weeds and moderates moisture, especially during the first year. Keep it a short distance from the crown. Do not create a constantly wet collar around the plant.
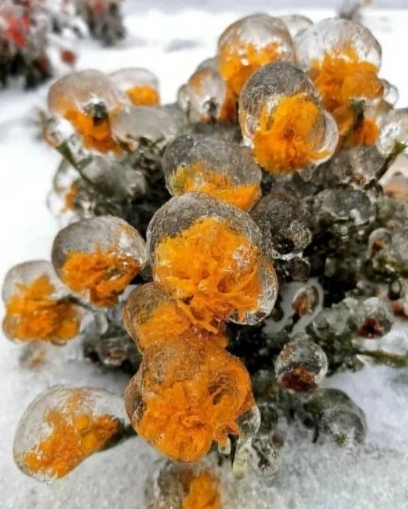
Feeding without producing leaves at the expense of flowers
A light application of compost in spring is enough in reasonably fertile soil. If a soil test or weak growth indicates a need, use a balanced slow-release fertilizer at the labeled rate. Heavy nitrogen feeding can create lush foliage, soft growth and disappointing bloom.
Remove yellow leaves and spent scapes when they pull free or can be cut without injuring the crown. Deadheading individual flowers is optional; it improves appearance but is not essential to the plant’s health.
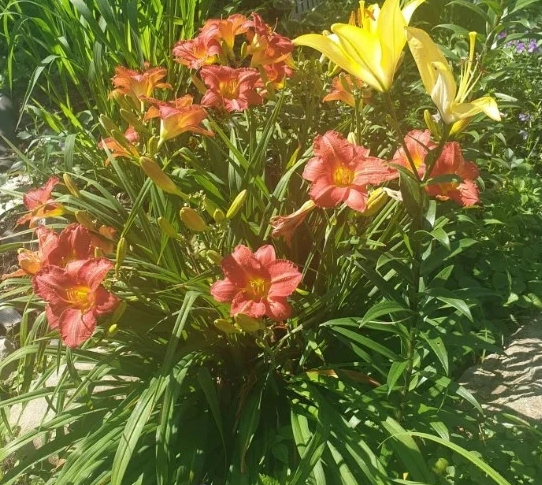
When a daylily needs division
A clump can remain undisturbed for years. Divide when flowering decreases, the center becomes crowded or dead, or the plant has spread beyond its allotted space. Early spring and the weeks immediately after flowering are both good times. Avoid the hottest part of summer.
How to divide daylilies
- Water the plant beforehand and cut the foliage back to roughly 6 to 8 inches (15–20 cm) if it is long and floppy.
- Dig around the clump and lift it with a garden fork.
- Shake or rinse away enough soil to see the fans and roots.
- Tease the clump apart by hand or cut it with a clean knife. Each division should have healthy roots and at least one strong fan; two or three fans establish faster.
- Trim damaged roots, replant at the correct depth and water well.
Keep the soil evenly moist while divisions root. A small division may flower lightly in the first year and improve the next season.
Cold-climate care
Many daylilies are extremely winter-hardy, but tolerance varies by cultivar. Dormant types naturally lose their leaves in cold climates, while evergreen and semi-evergreen cultivars can suffer foliage damage. Choose plants rated for your growing zone.
After the first hard freezes, remove collapsed foliage if you prefer a tidy bed. In exposed sites, a loose winter mulch applied after the ground cools helps reduce repeated freezing and thawing around newly planted crowns.
Problems to watch for
Daylily rust shows as yellow-orange pustules on foliage and behaves differently according to climate. Leaf streak, crown rot, aphids, thrips and spider mites may also occur. Buy clean plants, provide air circulation, remove badly affected leaves and avoid moving diseased material into other beds.
If you want another easy perennial with decorative leaves rather than large flowers, read our heucherella guide. For a moisture-loving companion in partial shade, learn when and how to divide astilbe.
Quick answers
Why are my daylilies not flowering? Common causes are insufficient sun, too much nitrogen, a crown planted too deeply or an old congested clump.
Can I divide them while they are blooming? It is possible, but spring or the period after flowering is less stressful and easier to manage.
How deep should the crown be? Keep it close to soil level and generally no more than one inch (2.5 cm) below the surface.